10/31/2010

Sunday Art Therapy #11

I love Sundays!!

You guys really get my creative juices going.  I love seeing what you've been up to each week. 

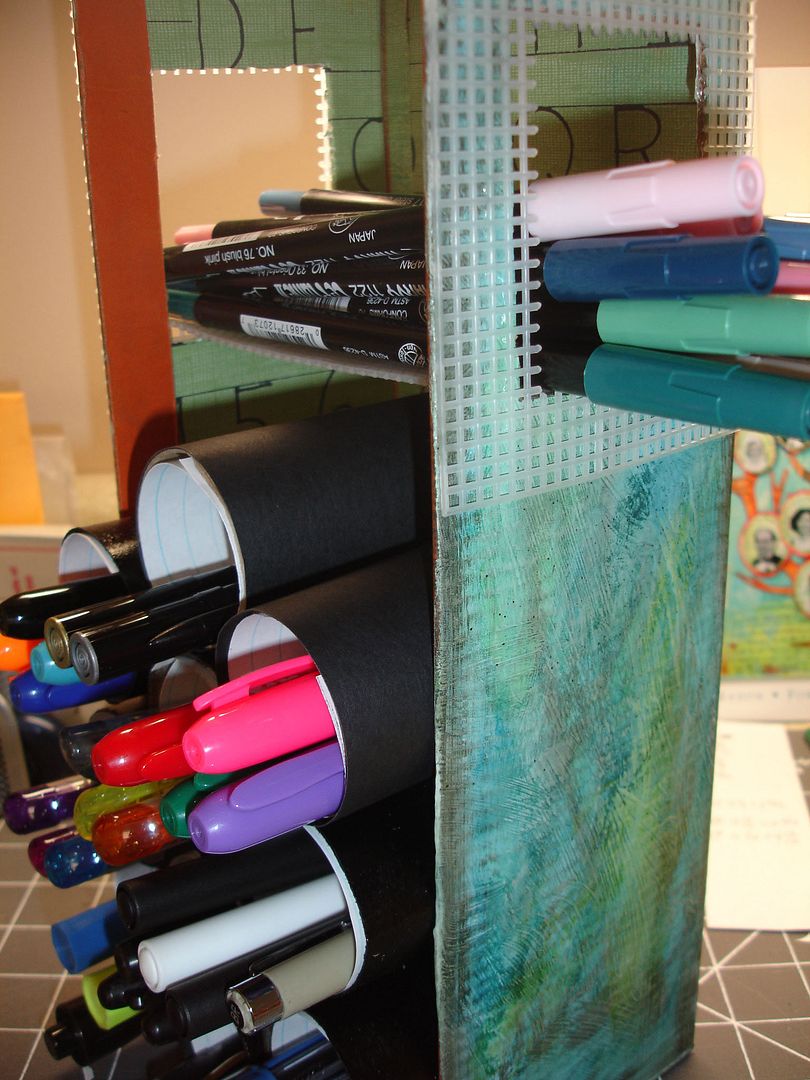
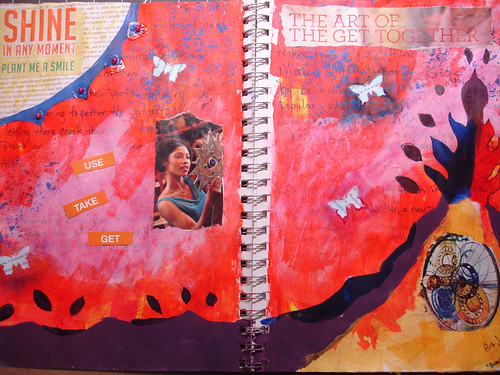
I am still working through the 21 Secrets Art Journaling Playground, and enjoying it every second!  I have a couple of more pages to post next week.  A little show and tell to show you what I've been learning and what you are missing if you're not involved.  21 Secrets is open through January 2011, so you still have plenty of time to join in the fun.  Just click on the 21 Secrets link in my sidebar.

This week's Sunday Art Therapy feature is from Just Jingle.  Meet George.


George is a beautiful mixed media pendant.  Doesn't he just make you smile?  I love the name, too.  When I was a kid, every tree frog, bull frog, lizard, baby rabbit, or squirrel that I caught was named George.

Great job, Jingle!!

Be sure to stop by Just Jingle and show her some comment love. 

Now it's your turn to show us what you've been up to this week.  Link up to the party and join the Flickr group.  Be sure to click each other's links and comment on other's projects.


10/25/2010

Dryer Duct Pumpkin- Country Style

I'm sure you've seen the dryer duct pumpkins all over blog-dom this month.  As a matter of fact, I introduced them to you when I saw them originally on House of Hepworths.  You can catch up on them here.  I couldn't wait to make some of my very own!

I bought a small package of 4" dryer duct at my local Lowe's.  I got it for about $4.  It was only enough to make a couple of pumkins, but that was enough for me.  I also picked up a can of Krylon Pumpkin Orange spray paint.  What a gorgeous color!!  My dearest hubby didn't want me to get the paint everywhere (I can't imagine what would give him that idea), so he offered to paint them for me.  He did a great job and it only took a couple of coats each.

Allison at House of Heworths used cinnamon sticks for her pumpkin stem.  They look lovely, and I'm sure they make her house smell delicious, but yours truly is allergic to cinnamon, so I had to go a different route.  I shuffled my way out to the wood pile in our backyard.  I call it the boneyard of my beautiful curly willow trees that were cut down last summer.  There weren't any branches that were the right size to use as stems, but there were several cool pieces of the bark laying around.

I picked out the best shaped pieces of bark and brought them inside.  I was able to glue the pieces together with hot glue to make the stems.  Then, I used silk leaves, craft wire curly-ques, and acorns picked up at the park to fill in the gaps between the bark stems and the pumpkin.

This one is on my dining table.  I love how it looks with my table runner and little pilgrim people.

This one is on my bar.  I didn't want it to scratch the top, so I put some crumpled tissue paper under it.  This one might be my favorite.  After making the one in the dining room first, I didn't have enough bark left in the right shape to use by themselves.  So, I cut one of the cardboard toilet paper rolls from my stash and hot glued smaller pieces of bark onto it both inside and out.  I know that sounds like overkill, but I didn't want someone looking down on it and seeing the cardboard.

Thanks for this awesome project, Allison! I will use these year after year.

Don't forget that the Sunday Art Therapy link party is open through the end of the day on Tuesday and the Flickr group is always open!

I'm linking to these parties:

Sumo Sweet Stuff BWS tips button
All Thingz Related

10/24/2010

Sunday Art Therapy #10

Good morning, my lovely creative readers.  I hope you all have had a wonderfully creative week and are enjoying this beautiful autumn weather we are having.  This week, I'd like to feature one of the fabulous projects that was linked up last week. 

This awesome envelope was created by Saraccino all the way from Germany.  I love how the internet makes us such close neighbors!  She used the skull graphic from The Graphics Fairy.


Don't you just love how she used the speach and thought bubbles for the address and stamp markers.  Be sure to stop by her blog and let her know you saw her here.  While you're there, browse around and check out her other creative projects.

Now it's your turn.  Link up your artistic endeavors from this week.  You can link to your blog post containing the project below as well as to the flickr group.  Just click the link inside the slideshow.


This linky list is now closed.

10/22/2010

Taking It to the Streets- Portable Crafting

Do you have a Travel Bag of Fabulousness?
A Satchel of Sanctuary?
A Bag of Bliss?

What else would you call your portable studio?  But, I don't travel, you say.  Neither do I very much, but sometimes I like to take my art outside on the patio.  Sometimes, I don't have the strength to walk into my studio, but I still want to doodle, or do something creative.  So, I put together my Travel Bag of Fabulousness.  (The name is not copyrighted.  You can use it too!) 


My bag consists of this:
  • Small backpack with enough pockets to keep things organized
  • Sketchbook
  • 2 pencil cases filled with small tubes of acrylic paint, watercolor pencils, coloring pencils, drawing pencils (2H, HB, 4B, and charcoal), pen nib and holder, oil pastels, q-tips, straight-edge, glue stick, cutterbug scissors, two paintbrushes (flat and round), pencil sharpener, eraser
  • plastic folder of magazine images and scrapbook paper pieces
  • small spray bottle of water
  • case of artist pens
  • box of watercolor crayons
  • pan of cake watercolors
  • small plastic palette
  • small bottle of gesso
  • cake of brush cleaning soap
  • bottle of india ink
  • couple of pieces of wax paper (to stick between my painted pages)
  • ziploc bag of baby wipes
I've never written all of this down before.  I think I should go in and do a little editing.  Needless to say, this might be a little much to take to a doctor's appointment or on a plane, but there's nothing here that wouldn't get through security as long as your bottle of gesso and india ink met the container and size requirements.

I'll share with you a couple of products that I learned about from Sarah Whitmire's 21 Secrets workshop called Jet-Set Journaling:  a watercolor brush pen and peerless watercolor papers.  They are already on my Christmas list!

So, whether you knit, scrapbook, art journal, sketch, or any other creative endeavor, how do you take it to the streets?

I'm linking to these parties:
giveaways

10/18/2010

Up-cycle Pen Caddy

I get so excited when I have an epiphany! How about you? I have invested in some new pens for my artistic endeavors--brush pens, gel pens, metallic paint pens, markers, glitter pens. They are fabulous! One thing I've learned, though, is that pens like to be stored laying down rather than standing up in a cup. Hmph, who knew?

Since I want my new lovelies to be happy, I made them a new home. I searched my stash and found a shoe box and several cardboard toilet paper and paper towel rolls.


Here's how I did it:

1. Primer. I used white gesso as my primer. I applied a generous coat to all of the outside surfaces, leaving as much brushstroke texture as possible. (If you are going to cover your shoebox in paper this step is not necessary.) Allow to dry overnight.


2. Paint. I used watercolor crayons, cake watercolors, and distress ink.


3. Cover the inside. In my experience, painting the inside of shoebox is not easy. So, I went with paper. I found this cool alphabet paper in my stash. It reminded me of practicing my letters as a kindergartner.


4. Window. Some of my brush pens were too long to fit into the tubes, so I cut a window on either side of the box to let them lay across it. To finish the edges and to make a little shelf for them to sit on, I cut plastic canvas. (I bought this at a yard sale. I'm not sure what it's really used for.) I used E-6000 glue to attach it.


5. Cover the cardboard tubes. I had some black spray paint in the garage, so my hubby strung the tubes on a large dowel and painted them for me. You could also cover them in paper. I cut ruled notebook paper to fit on the inside.

6. Assemble. It's not necessary to glue your tubes into the box. My box was large enough to fit three tubes across, but I liked the pattern of staggering them. Load your pens, and voila.


I'm linking to these parties.  You should join them, too.

Sumo Sweet Stuff 
All Thingz Related

10/17/2010

Sunday Art Therapy #9

Happy Sunday, everyone.  I hope you all are having a wonderful weekend.  We are really enjoying the fall colors here in middle Tennessee.  Truthfully, it's about two weeks early, but I love it!! Today is a special day. It is my parent's 30th wedding anniversary! It reminds me of how lucky my sister and I are that our parents have stayed together when most of our friends' parents have not. We witnessed how much work marriage is and how wonderful it is suppose to be. Happy anniversary, Mom and Dad. I love you very much!!

Thanks to everyone who has been joining the Sunday Art Therapy link party and Flickr group.  Last week, Linky Tools had a little hiccup, so I was not able to comment on everyone who linked up, but I have been assured that all is well now.  If you'd like to link up last week's projects again, feel free. 

I am loving the 21 Secrets online workshop!  I have even met a few artists who live in my area.  There are wonderful people from literally all over the world and at every skill level participating in this workshop.  If you haven't already joined, please do so!  You really don't want to miss out.  Connie from Dirty Footprints Studio, the hostess of 21 Secrets, was suppose to guest post last week's Sunday Art Therapy, but was unable to do so due to all of her other commitments.  Hopefully, we can have her here soon.

Here is one of the journal pages that I did this week for the "Everything but the Kitchen Sink" workshop.  I used a really cool technique where you drip rubbing alcohol on wet watercolor or water-based ink to get the great droplet/spatter texture.


Refresh_alcohol technique


Loving it!! 

I've also been working on a little mixed-media, up-cycle project that I will share with you this week.  It's functional and beautiful (if I do say so myself ;).   You won't want to miss it.

So, let's see what you've been up to this week.  Remember, any visual art is welcome, whether it be art journals, paintings, collage, fabric, jewelry, sculpture or anything else that you've let loose on this week. 


This linky list is now closed.

10/14/2010

Art Journal as Soul Mirror

Last week, I participated in Effy Wild's 21 Secrets class called "Art Journal as Soul Mirror". She took us through a wonderful meditation process that helped us find our passion. Honestly, that is something that I have been seeking for a very long time. The word that came out of my process was Creativity.  This was what I journaled before I started my page:

My soul's purpose is creativity in all of its wonderful and beautiful forms. Creativity is not creating. Only God can create something from nothing. Creativity is bringing elements together and making them into something they were never meant to be, giving them new life, making them into something larger than the sum of their parts, honoring them by believing in what they could be. Creativity is gathering together the outcast and the popular, marrying them together and letting them create their own harmony. This does not only happen with pen and paper, paint and brush, or other elements of the visual artist's mind, but it also happens with entrepreneurs, teachers, social workers, pastors and community workers--servants of God.


Lord, may I be creative in all that I do. I want to serve You, to be mature in my faith in you, and never be scared to BRING your chosen TOGETHER to BEGIN AGAIN, to create a new life, a new program, a new friend, or a new heart from all that was broken or cast aside. I have not lost my usefulness! Create in me a passion fueled by love and a servant's heart. Show me the path that I am to take, and give me the strength to walk down it.
Amen!
Here is my page.  I really enjoyed the journey of its creation and I was amazed at all of the layers that emerged.

Bring Together Begin Again

If you haven't already created your own art journal page, I hope that I have inspired you to try it. If you feel like you need some help to get started, be sure to check out 21 Secrets hosted by Dirty Footprints Studio.
 
Find More Free Layouts at April Showers