I hope you are excited as I am!! Be sure to make them welcome and let them know what awesome, creative people you are!
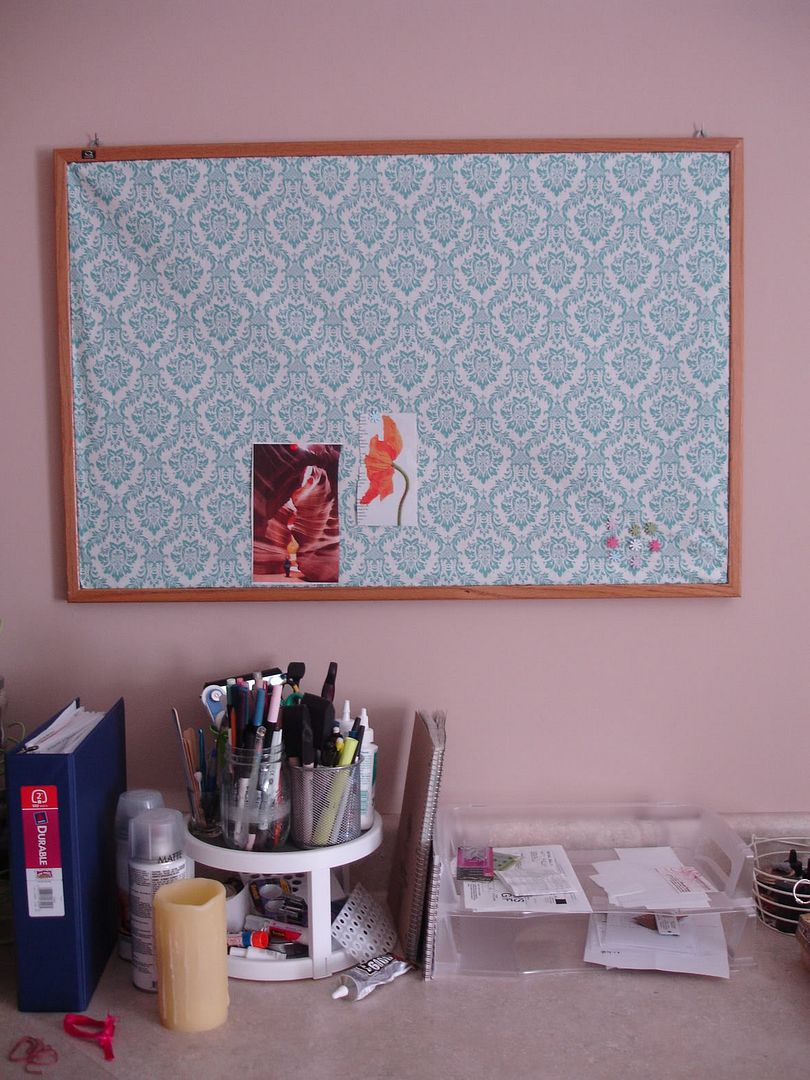
Next, I have a tutorial for an inspiration board. I have been wanting this forever for my studio and finally took the time to put it together.
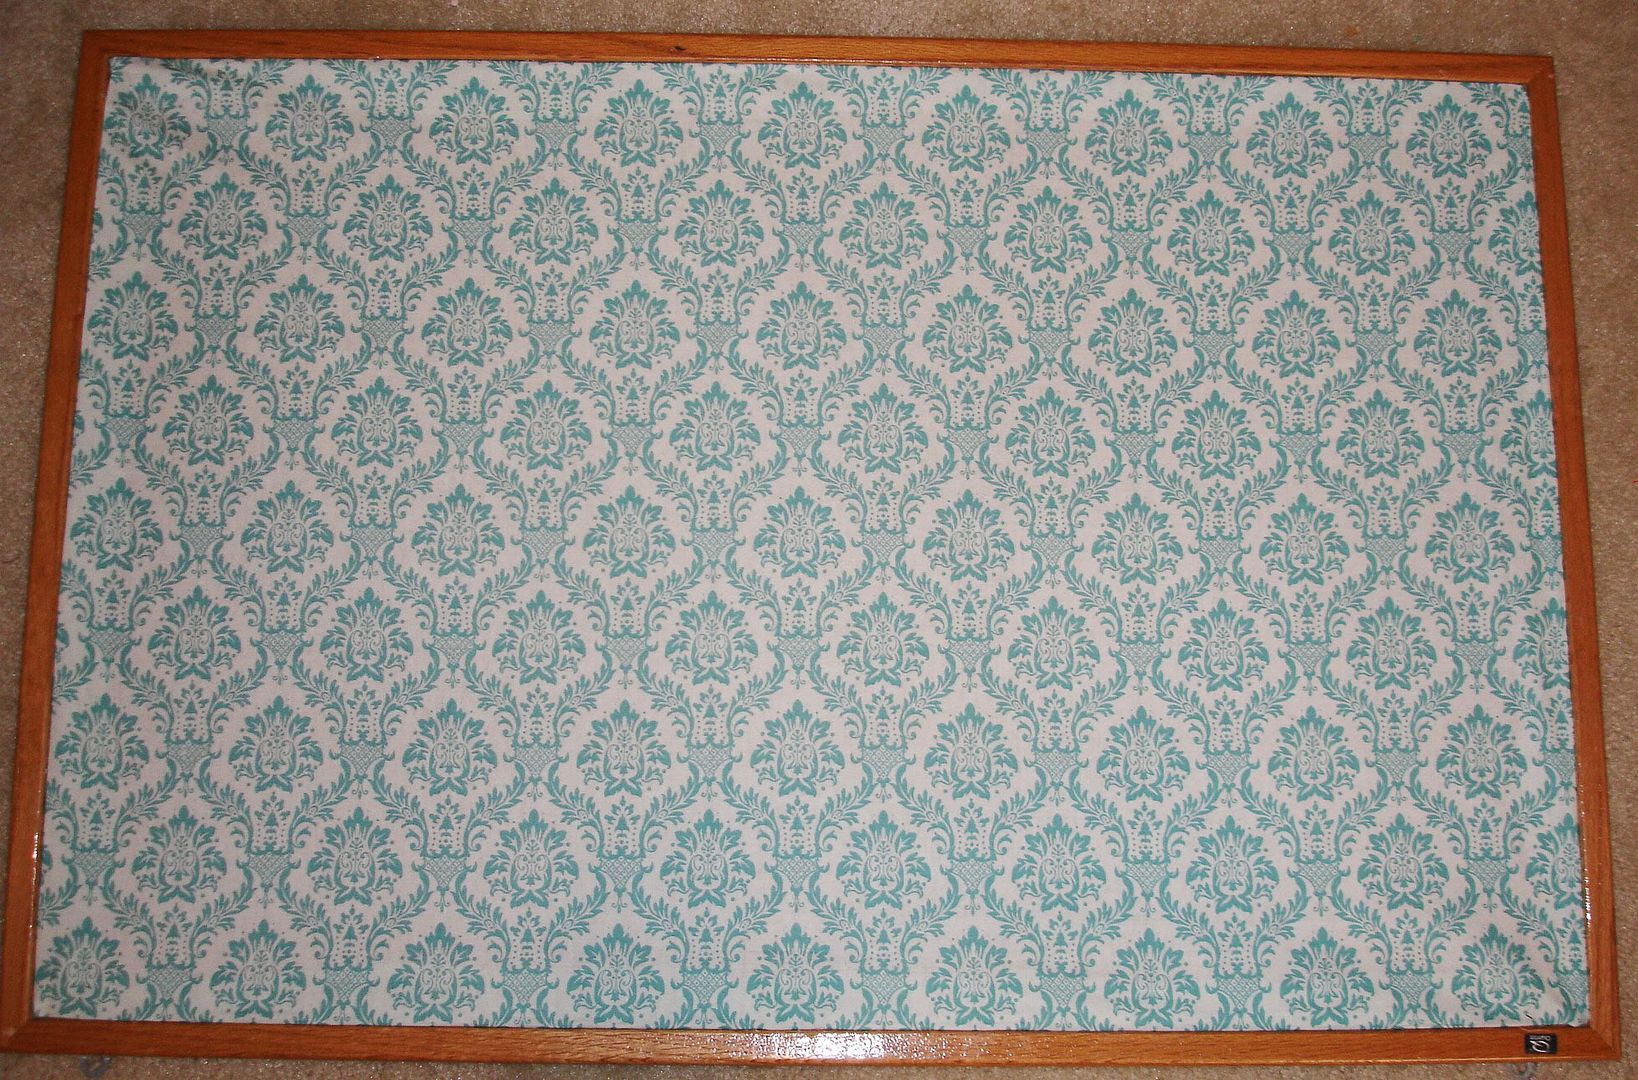
I was able to make this board from things I already had in my stash plus a yard of fabric from Joann's (which was 40% off!) The base of my board was a large cork board that I had from a previous home. It's been in the closet in what is now my studio for the last 4 years. Lucky for me that it was already framed and had hangers.
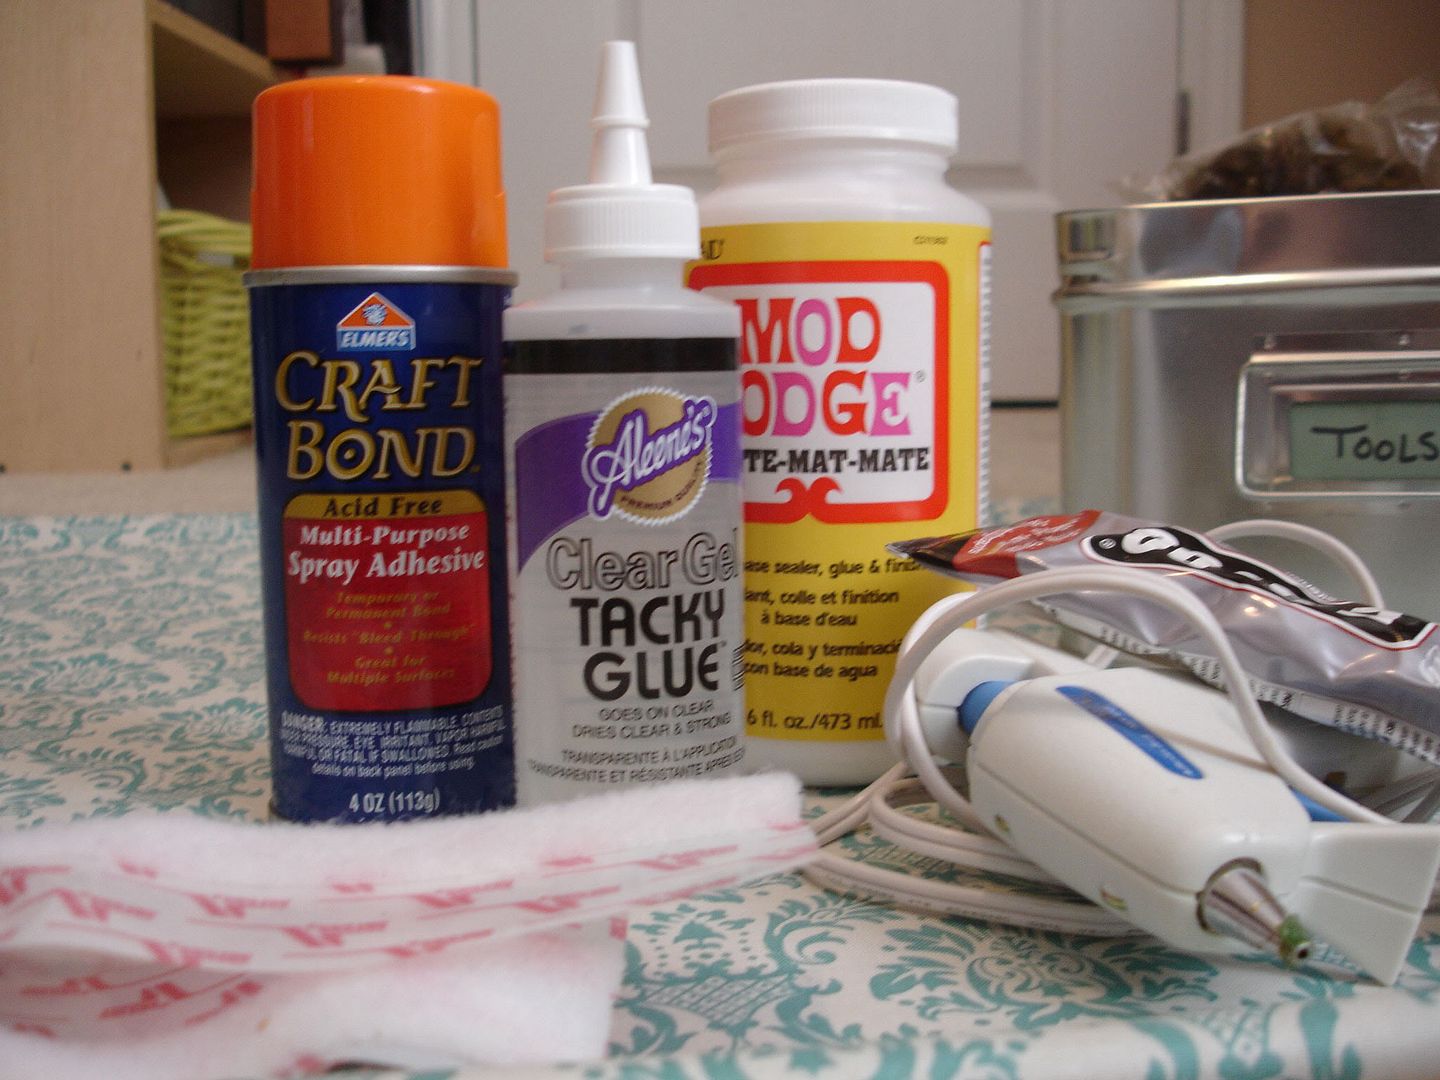
1. Decide how you will attach your fabric to your board. I had several different types of adhesives handy, but you could also use a staple gun. I ended up going with hot glue.
2. Cut the fabric about 1.5 inches wider than your cork board. I used pinking shears so that I didn't have to deal with fraying.
3. Flip your fabric right side up and center on the front of the board. You could take the time to pin down and iron a hem, but I didn't want to drag all of that stuff out. So, I started in the center of the bottom side and finger-folded the fabric and glued it down with the hot glue.
4. Be sure to keep your fabric tight. When you get to the corners, leave yourself enough room to fold the corners into a tight point before gluing them down.





Hi, Jenn! Your board looks so cute! I really do need one - right now I'm using a glass picture frame and taping my little inspirations to it. Hope you have a great weekend!
ReplyDelete