Showing posts with label Texture. Show all posts

6/07/2011

Promises Journal....Don't leave home without one!


My first vlog!!  I'm liking it.  I'm working hard in the studio today and will have new works to show you tomorrow. 

P.S.  Blogger is not letting me upload videos, so I did it through YouTube.  I know the video lags the sound a little, but I'll get the kinks worked out for next time.


Have a great one!!!

11/07/2010

Sunday Art Therapy #12

Good morning, all of my lovely creative readers!  I am so excited about this week's feature artist, Denise from Junk Dog Design.  I recently stumbled across Denise's wonderful blog and have quickly become an avid follower.  She specializes in repurposing items into beautiful pieces of art.  Don't you just admire that kind of creativity?!

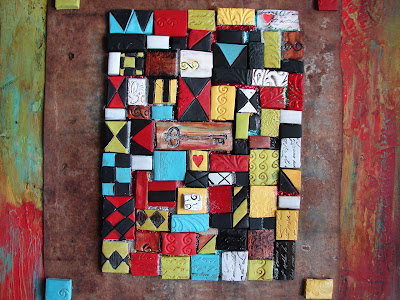
Last week, she linked up this gorgeous mixed media piece made of polymer clay tiles, metal, and recycled canvas, all displayed in a repurposed frame.  Everytime I look at it, I see something I hadn't noticed before.  The depth and texture are tremendous.


by Denise @ Junk Dog Design

by Denise @ Junk Dog Design
Be sure and check out Denise's blog, Junk Dog Design, and leave her some comment love.

Now, a little update on my own creative adventures.  I am still working through the 21 Secrets Art Journaling Playground online workshop.  I've hit a bit of a creative wall, but I think that is what art journaling is all about, working through those creative blocks until the dam breaks, and then watch out!  I got a little present in the mail the other day that came just in the nick of time-- my first moleskine journal.  {***sQuEaL*** with excitement!!}  I'm having a little out-patient procedure this week and I can't wait to take this baby along with my Travel Bag of Fabulousness and do some art journaling while waiting and recovering.

So, it's your turn to show what you've created this week (or any other ol' time).  Be sure to view the Flickr slideshow for more amazing inspiration.  The Flickr group is always open and ready for you to add your lovelies.  Just click the link inside the slideshow to join.  And, as always, the linky party is open through Tuesday, so link often!


This linky list is now closed.

10/25/2010

Dryer Duct Pumpkin- Country Style

I'm sure you've seen the dryer duct pumpkins all over blog-dom this month.  As a matter of fact, I introduced them to you when I saw them originally on House of Hepworths.  You can catch up on them here.  I couldn't wait to make some of my very own!

I bought a small package of 4" dryer duct at my local Lowe's.  I got it for about $4.  It was only enough to make a couple of pumkins, but that was enough for me.  I also picked up a can of Krylon Pumpkin Orange spray paint.  What a gorgeous color!!  My dearest hubby didn't want me to get the paint everywhere (I can't imagine what would give him that idea), so he offered to paint them for me.  He did a great job and it only took a couple of coats each.

Allison at House of Heworths used cinnamon sticks for her pumpkin stem.  They look lovely, and I'm sure they make her house smell delicious, but yours truly is allergic to cinnamon, so I had to go a different route.  I shuffled my way out to the wood pile in our backyard.  I call it the boneyard of my beautiful curly willow trees that were cut down last summer.  There weren't any branches that were the right size to use as stems, but there were several cool pieces of the bark laying around.

I picked out the best shaped pieces of bark and brought them inside.  I was able to glue the pieces together with hot glue to make the stems.  Then, I used silk leaves, craft wire curly-ques, and acorns picked up at the park to fill in the gaps between the bark stems and the pumpkin.

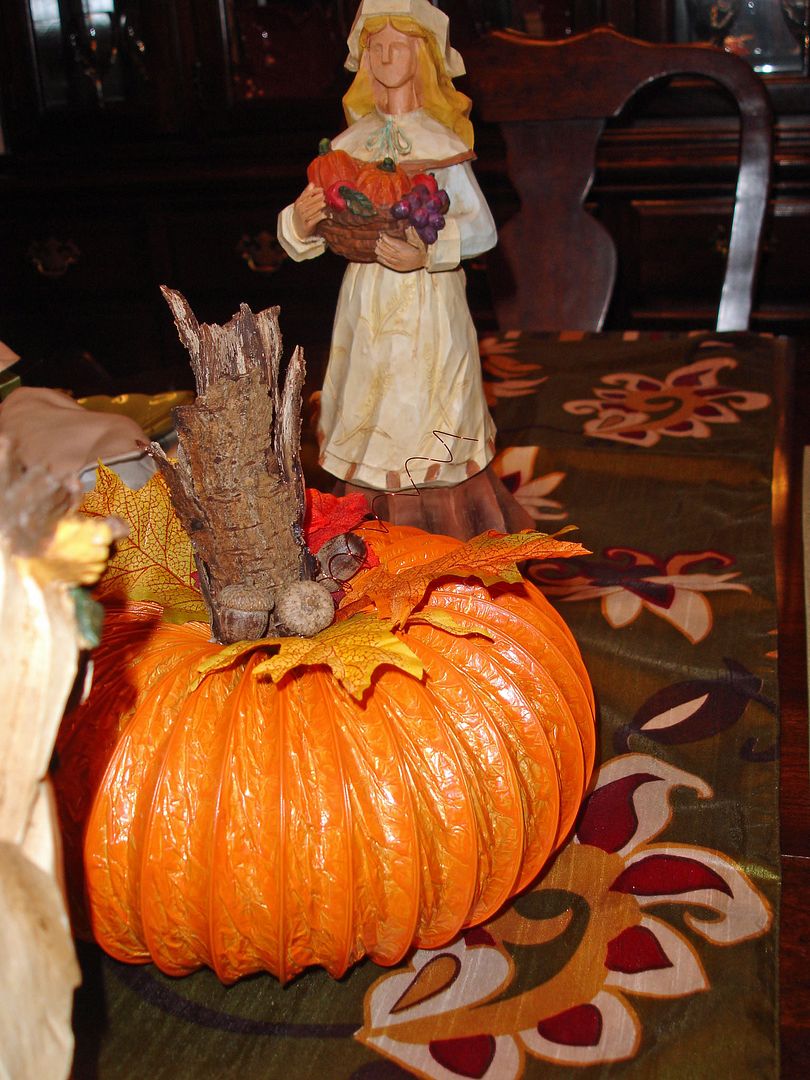
This one is on my dining table.  I love how it looks with my table runner and little pilgrim people.

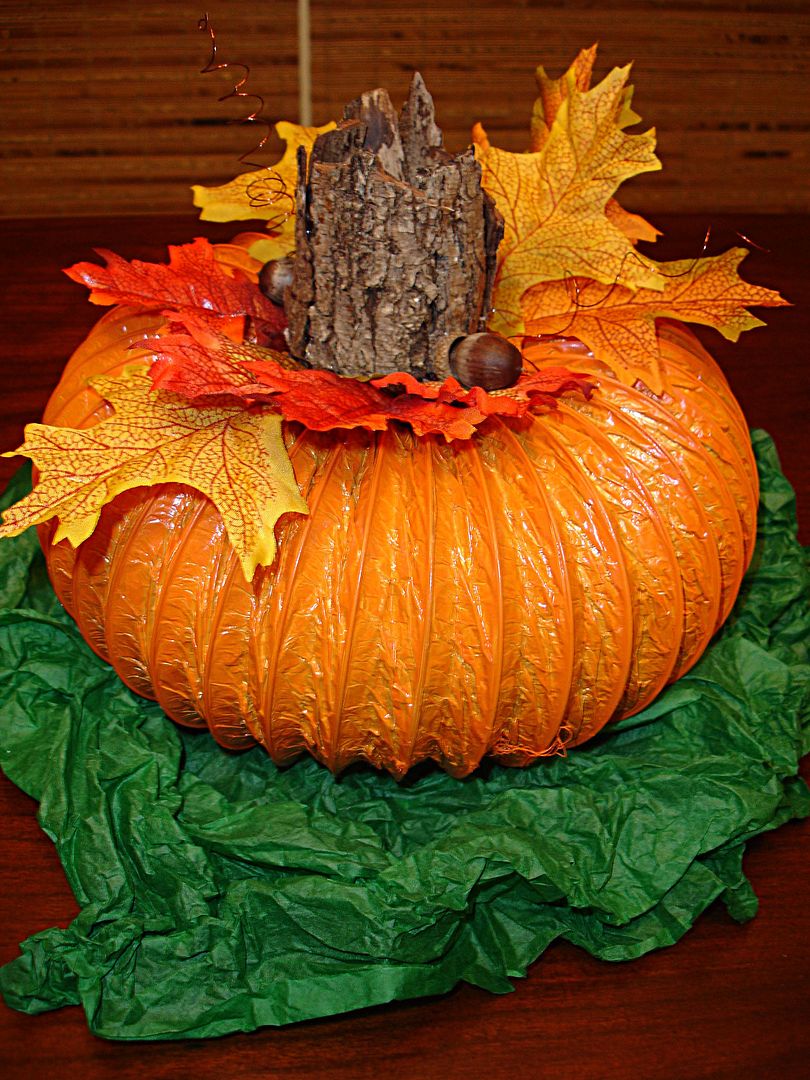
This one is on my bar.  I didn't want it to scratch the top, so I put some crumpled tissue paper under it.  This one might be my favorite.  After making the one in the dining room first, I didn't have enough bark left in the right shape to use by themselves.  So, I cut one of the cardboard toilet paper rolls from my stash and hot glued smaller pieces of bark onto it both inside and out.  I know that sounds like overkill, but I didn't want someone looking down on it and seeing the cardboard.

Thanks for this awesome project, Allison! I will use these year after year.

Don't forget that the Sunday Art Therapy link party is open through the end of the day on Tuesday and the Flickr group is always open!

I'm linking to these parties:

Sumo Sweet Stuff BWS tips button
All Thingz Related

10/18/2010

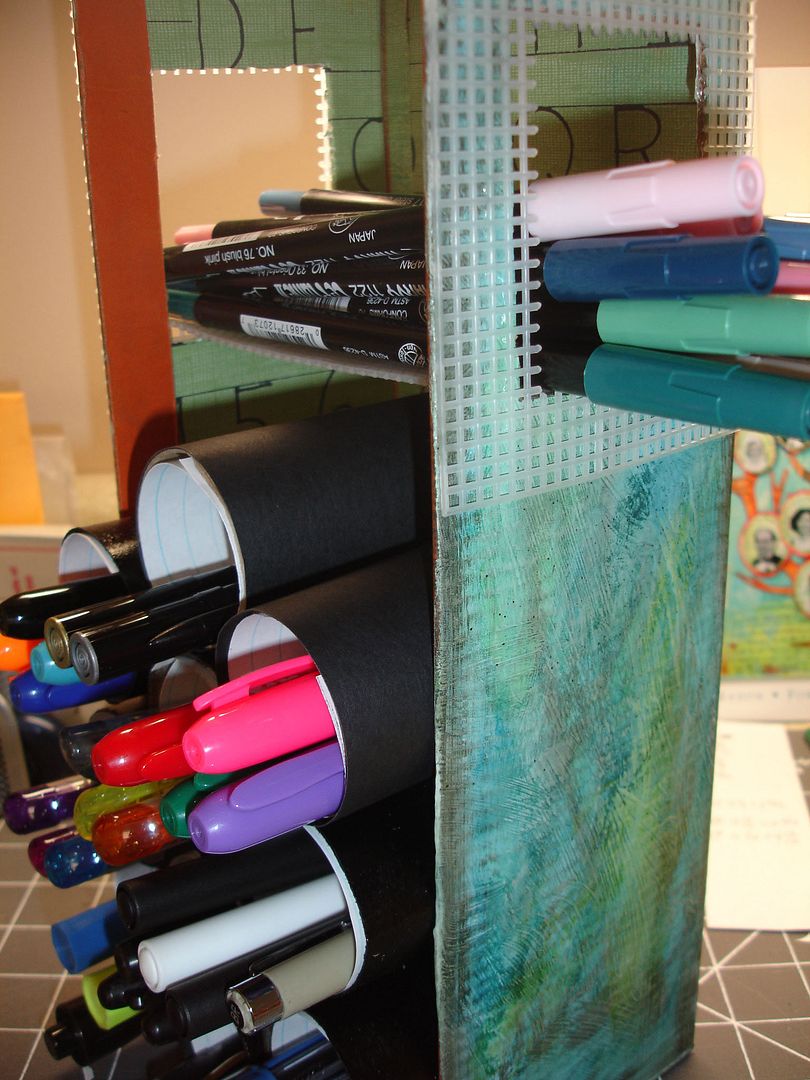
Up-cycle Pen Caddy

I get so excited when I have an epiphany! How about you? I have invested in some new pens for my artistic endeavors--brush pens, gel pens, metallic paint pens, markers, glitter pens. They are fabulous! One thing I've learned, though, is that pens like to be stored laying down rather than standing up in a cup. Hmph, who knew?

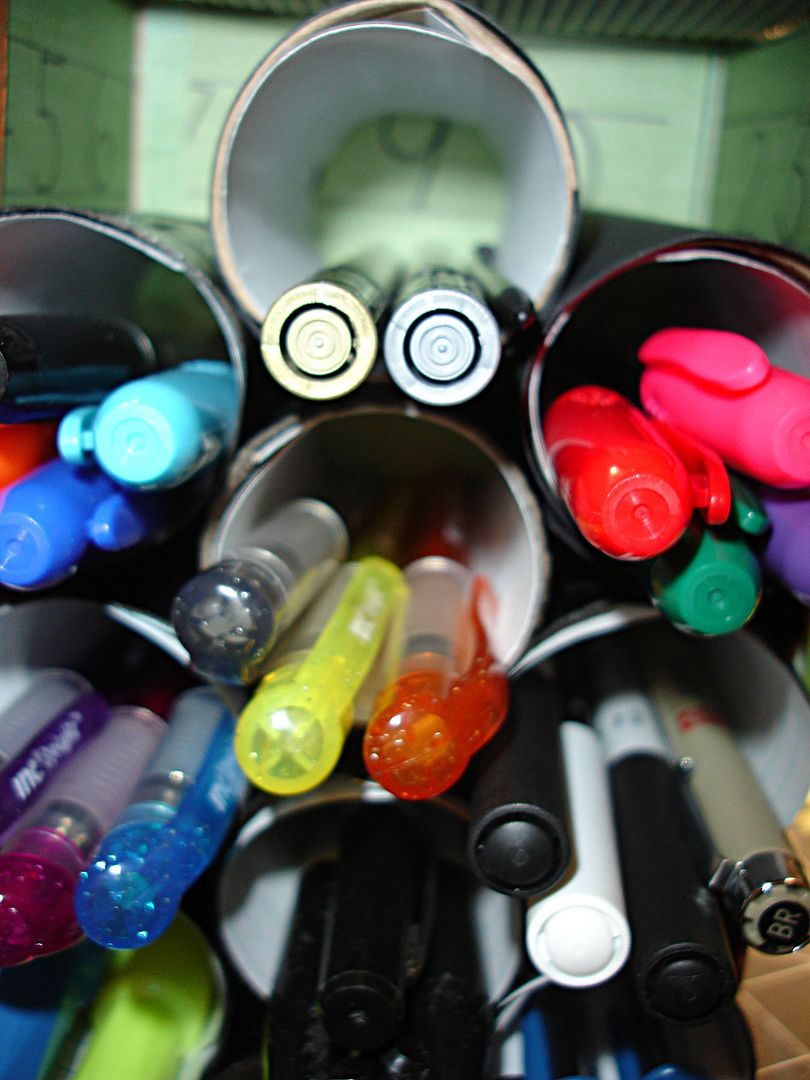
Since I want my new lovelies to be happy, I made them a new home. I searched my stash and found a shoe box and several cardboard toilet paper and paper towel rolls.


Here's how I did it:

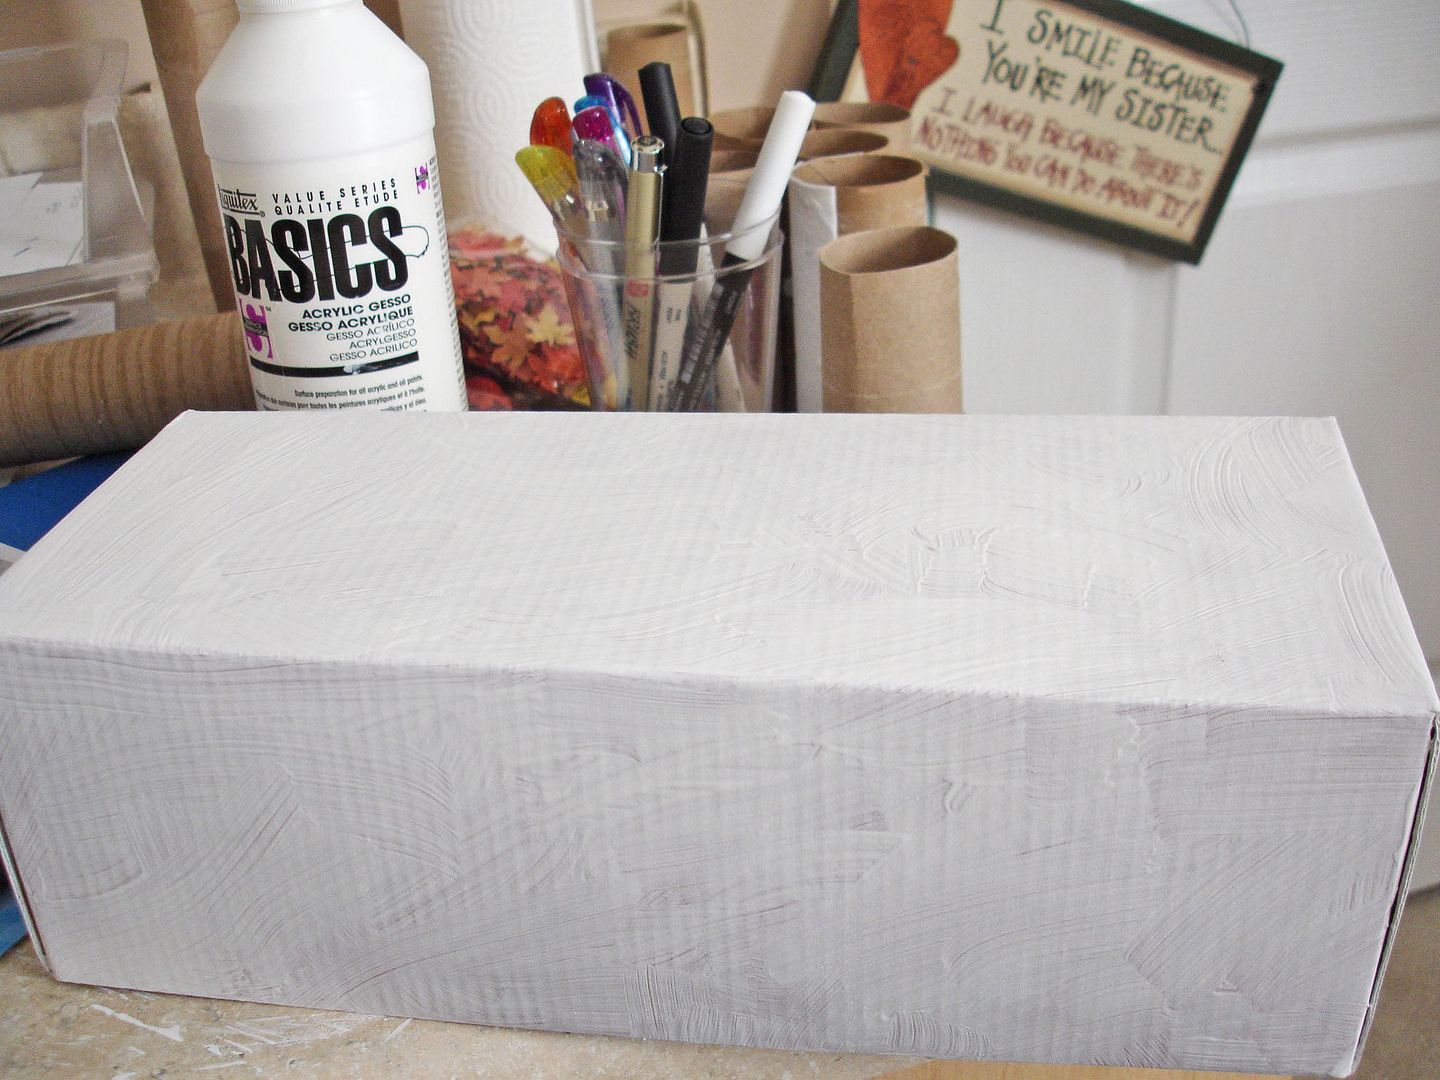
1. Primer. I used white gesso as my primer. I applied a generous coat to all of the outside surfaces, leaving as much brushstroke texture as possible. (If you are going to cover your shoebox in paper this step is not necessary.) Allow to dry overnight.


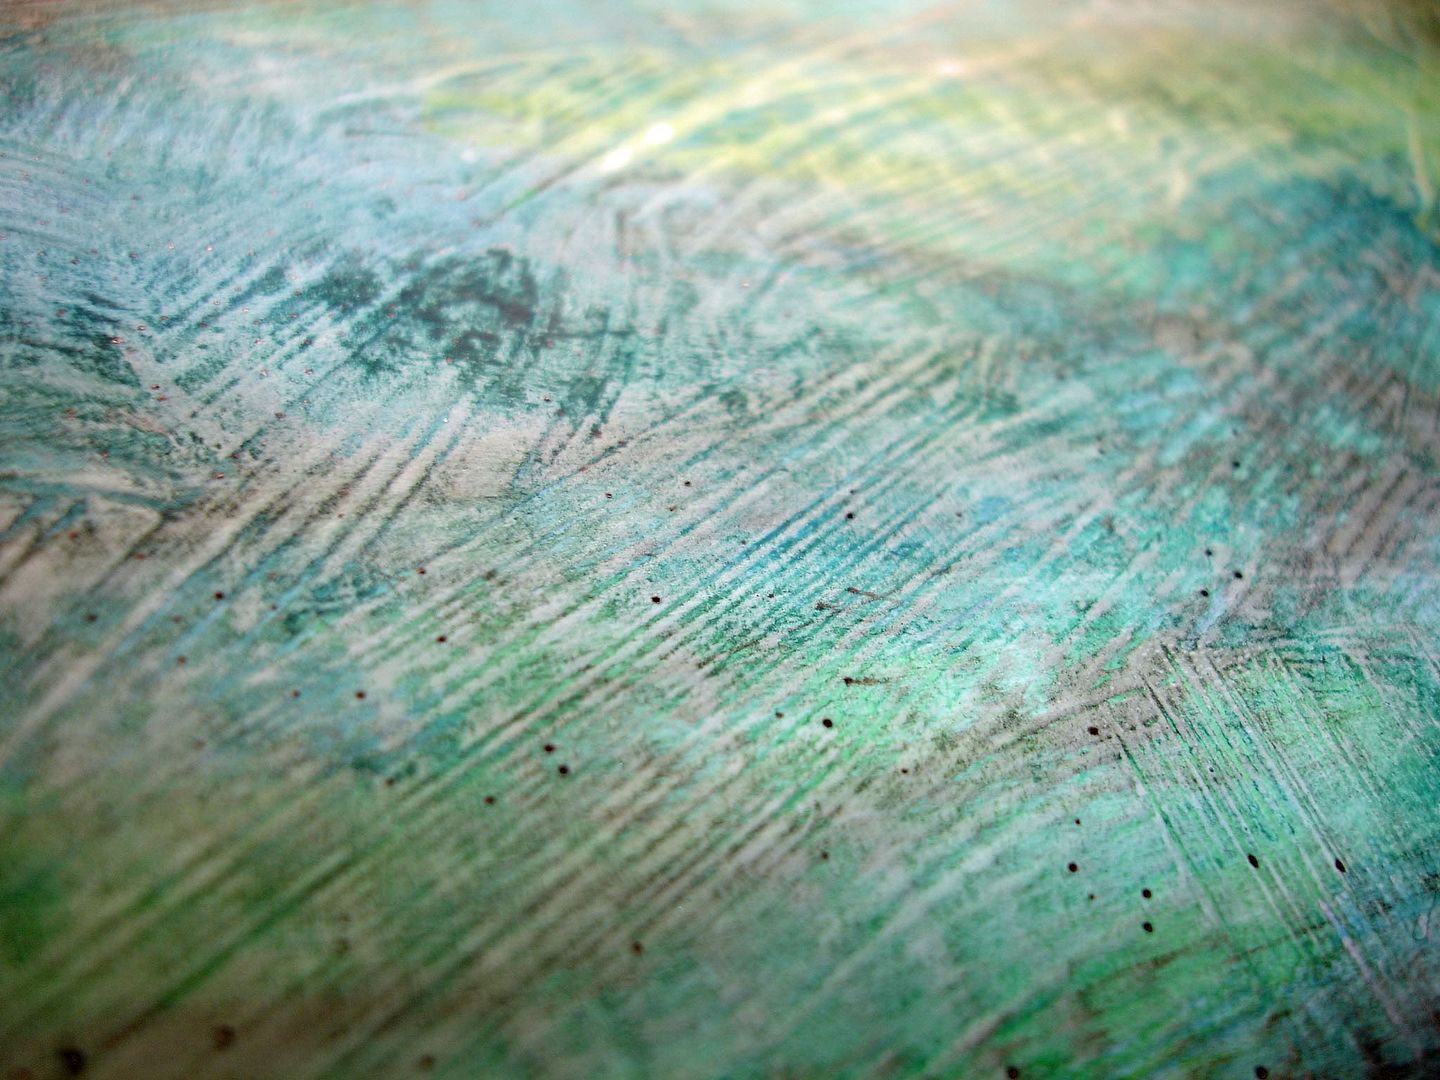
2. Paint. I used watercolor crayons, cake watercolors, and distress ink.


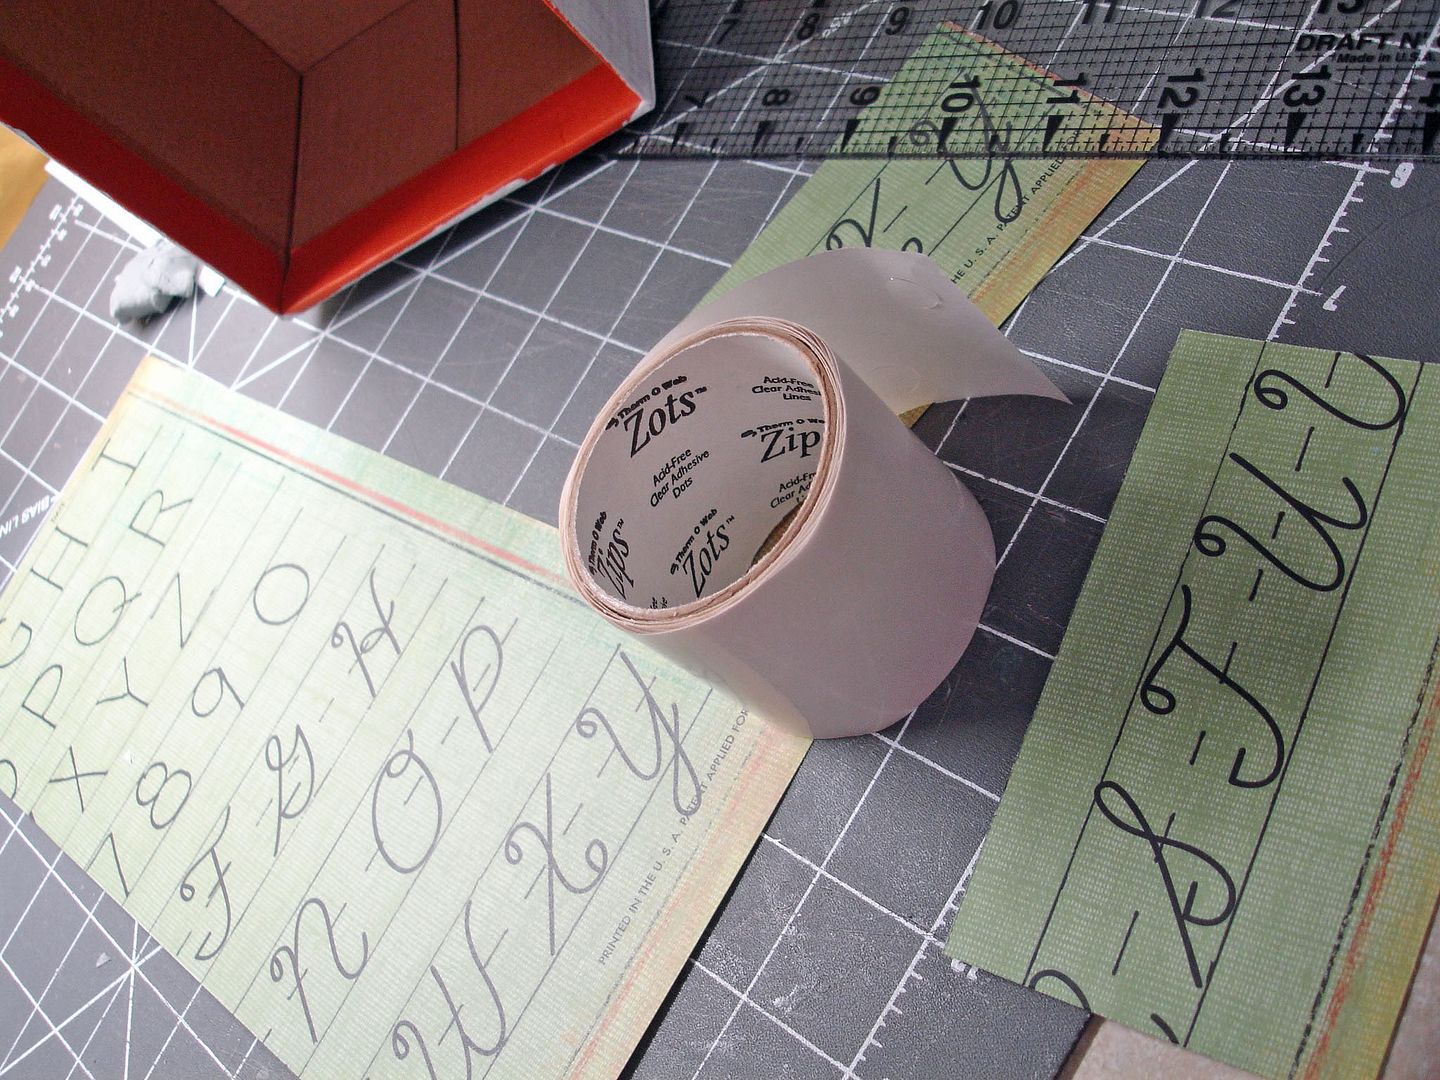
3. Cover the inside. In my experience, painting the inside of shoebox is not easy. So, I went with paper. I found this cool alphabet paper in my stash. It reminded me of practicing my letters as a kindergartner.


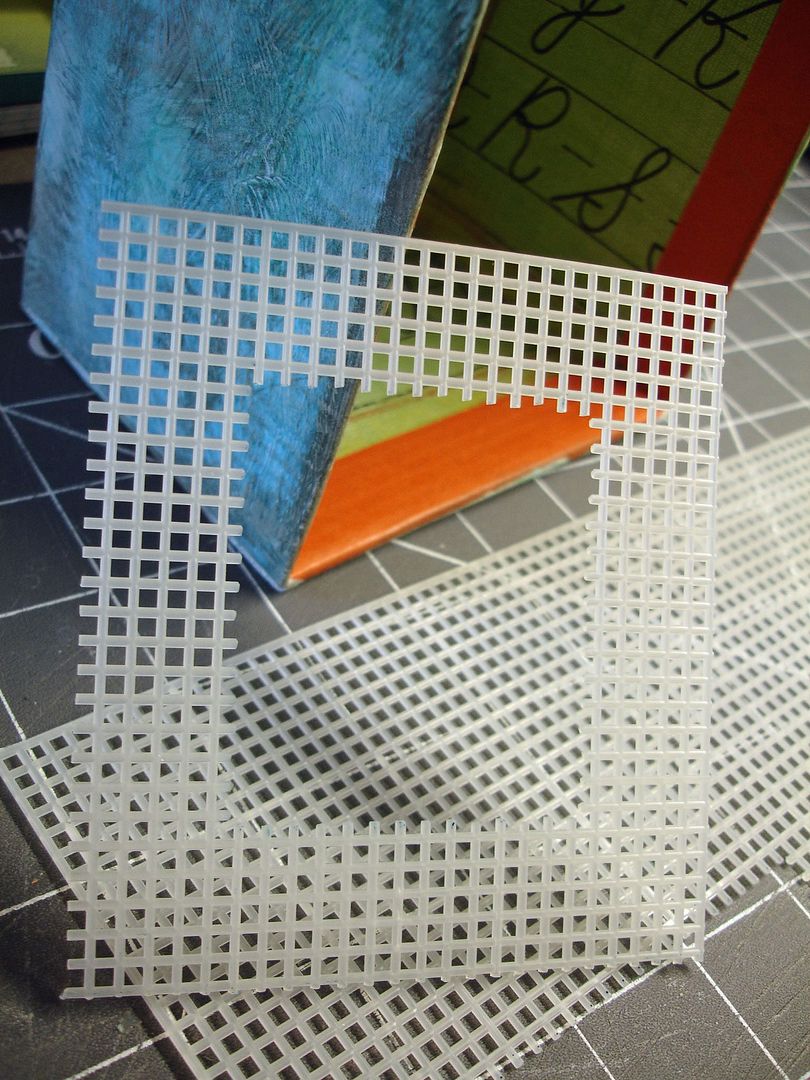
4. Window. Some of my brush pens were too long to fit into the tubes, so I cut a window on either side of the box to let them lay across it. To finish the edges and to make a little shelf for them to sit on, I cut plastic canvas. (I bought this at a yard sale. I'm not sure what it's really used for.) I used E-6000 glue to attach it.


5. Cover the cardboard tubes. I had some black spray paint in the garage, so my hubby strung the tubes on a large dowel and painted them for me. You could also cover them in paper. I cut ruled notebook paper to fit on the inside.

6. Assemble. It's not necessary to glue your tubes into the box. My box was large enough to fit three tubes across, but I liked the pattern of staggering them. Load your pens, and voila.


I'm linking to these parties.  You should join them, too.

Sumo Sweet Stuff 
All Thingz Related

10/17/2010

Sunday Art Therapy #9

Happy Sunday, everyone.  I hope you all are having a wonderful weekend.  We are really enjoying the fall colors here in middle Tennessee.  Truthfully, it's about two weeks early, but I love it!! Today is a special day. It is my parent's 30th wedding anniversary! It reminds me of how lucky my sister and I are that our parents have stayed together when most of our friends' parents have not. We witnessed how much work marriage is and how wonderful it is suppose to be. Happy anniversary, Mom and Dad. I love you very much!!

Thanks to everyone who has been joining the Sunday Art Therapy link party and Flickr group.  Last week, Linky Tools had a little hiccup, so I was not able to comment on everyone who linked up, but I have been assured that all is well now.  If you'd like to link up last week's projects again, feel free. 

I am loving the 21 Secrets online workshop!  I have even met a few artists who live in my area.  There are wonderful people from literally all over the world and at every skill level participating in this workshop.  If you haven't already joined, please do so!  You really don't want to miss out.  Connie from Dirty Footprints Studio, the hostess of 21 Secrets, was suppose to guest post last week's Sunday Art Therapy, but was unable to do so due to all of her other commitments.  Hopefully, we can have her here soon.

Here is one of the journal pages that I did this week for the "Everything but the Kitchen Sink" workshop.  I used a really cool technique where you drip rubbing alcohol on wet watercolor or water-based ink to get the great droplet/spatter texture.


Refresh_alcohol technique


Loving it!! 

I've also been working on a little mixed-media, up-cycle project that I will share with you this week.  It's functional and beautiful (if I do say so myself ;).   You won't want to miss it.

So, let's see what you've been up to this week.  Remember, any visual art is welcome, whether it be art journals, paintings, collage, fabric, jewelry, sculpture or anything else that you've let loose on this week. 


This linky list is now closed.

9/14/2010

Dryer Duct Pumpkins

Oh Fall, thank you for coming early to TN. We so needed the relief from the heat. My neighbors and I are already planning an Oktoberfest party and I can't wait to get all of my fall decorations down from the attic.

While browsing around blogland, I came across this awesome project by Allison at House of Hepworths.  Her blog is hilarious and educational at the same time.  She has made pumpkins out of dryer duct. 


Project by Allison @ House of Hepworths

 Isn't this seriously cute?!  I can't wait to raid my garage to see if we have any dryer duct.  You could get this at any hardware store, but also check out your local Habitat ReStore (benefitting Habitat for Humanity) or maybe even Goodwill. 

I won't be able to use cinnamon sticks thanks to my crazy allergy, but I could see twigs from my yard.  I think I even still have some dried curly willow branches left from the trees my hubby cut down (sigh).

Be sure to go over to Allison's blog and let her know that you saw her here.

Also, if you like this project, also check out the rope and wire pumpkins at Someday Crafts.

Happy Fall, everyone!!

9/09/2010

Texture: My Beautiful Muse

I have been on this creative journey literally since my childhood, but full-time for the last three months. I have had a lot of fun with projects, art journaling, and jewelry-making, all the while sharing ideas with my wonderfully creative readers. However, I have struggled to find my niche, my muse at it were.

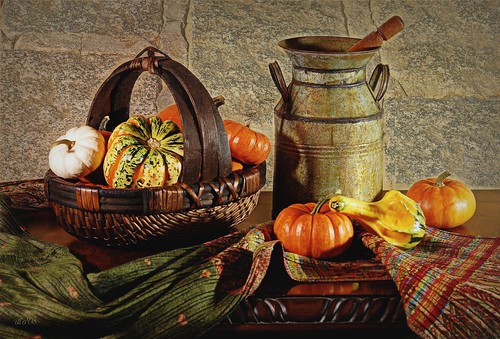
After reading a beautiful post by Holly Schlickbernd at So Chic Decor, I realized that I am most moved by texture.  It all seemed to be so clear.  Fall is my favorite season because I love all the textures of the fallen leaves, the gourds and pumpkins, the hearty comfort foods, the sweaters and coduroys.  Texture is what makes me want to scrapbook, paint, and make jewelry.

This, my friends, is quite liberating!  I have already been working on a painting and a journal project with my muse.  Actually, I've been so excited about this that I've been working feverishly on them at the same time, switching between projects while the other dries.  I can't wait until they are finished so that I can share them with you.

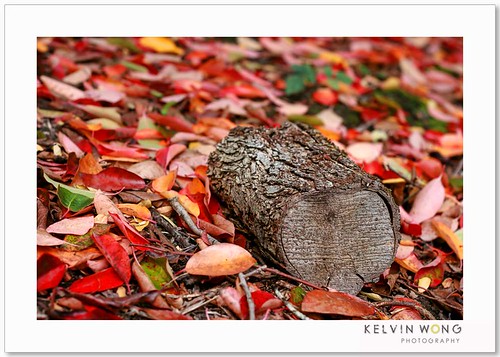
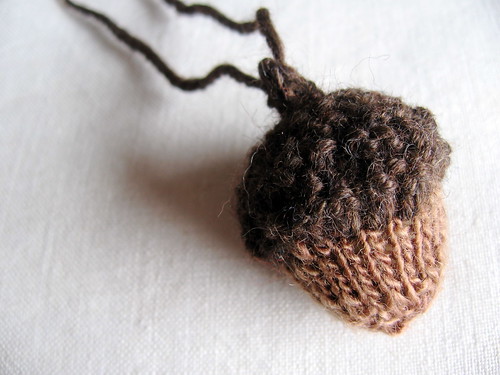
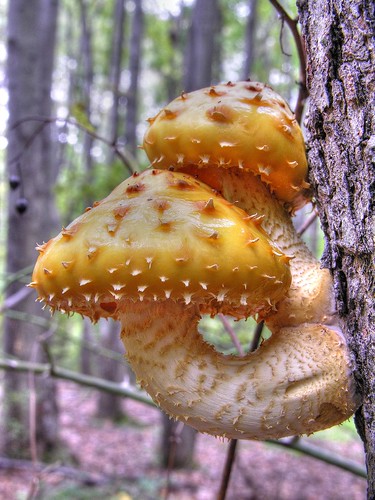
So, to pay homage to the beginning of fall and my muse, here are some pics to get your creative juices going. 


Autumn Texture
acorn
Theme 52 - Autumn
At home
Five Sequoias, Mariposa Grove
land of magic
My October


Be sure to link up your projects on my Sunday Art Therapy linky party and Flickr Group.  The link party is up from Sunday through Tuesday, but you can post to the Flickr group anytime!

Now, get creating!
 
Find More Free Layouts at April Showers