Have you all started decorating for the Christmas season? It is on my to-do list this weekend along with a lovely ladies brunch to ring in the holiday season (yay, Allison!). Another thing on my to-do list is this project from Denise at JunkDog Design. Aren't these bottles to die for?!
Denise used old empty bottles she had laying around. The middle one is an old Log Cabin Syrup bottle. Add some dismantled seed beed bracelets, aged printed numbers, drawer pulls and earrings from the eighties and you've got yourself some very cool decor. I could see these all year round on a bookcase or mantle or even in a bathroom.
Denise is working through her "Craft A-Day while Colt's Away" series. Be sure to check out her blog so that you don't miss a single one!
Later this week, I'll be sharing some of my collage attempts that I've been working on. So, stay tuned and have a creative day.
Happy Sunday, everyone. I hope you all are having a wonderful weekend. We are really enjoying the fall colors here in middle Tennessee. Truthfully, it's about two weeks early, but I love it!! Today is a special day. It is my parent's 30th wedding anniversary! It reminds me of how lucky my sister and I are that our parents have stayed together when most of our friends' parents have not. We witnessed how much work marriage is and how wonderful it is suppose to be. Happy anniversary, Mom and Dad. I love you very much!!
Thanks to everyone who has been joining the Sunday Art Therapy link party and Flickr group. Last week, Linky Tools had a little hiccup, so I was not able to comment on everyone who linked up, but I have been assured that all is well now. If you'd like to link up last week's projects again, feel free.
I am loving the 21 Secrets online workshop! I have even met a few artists who live in my area. There are wonderful people from literally all over the world and at every skill level participating in this workshop. If you haven't already joined, please do so! You really don't want to miss out. Connie from Dirty Footprints Studio, the hostess of 21 Secrets, was suppose to guest post last week's Sunday Art Therapy, but was unable to do so due to all of her other commitments. Hopefully, we can have her here soon.
Here is one of the journal pages that I did this week for the "Everything but the Kitchen Sink" workshop. I used a really cool technique where you drip rubbing alcohol on wet watercolor or water-based ink to get the great droplet/spatter texture.
Loving it!!
I've also been working on a little mixed-media, up-cycle project that I will share with you this week. It's functional and beautiful (if I do say so myself ;). You won't want to miss it.
So, let's see what you've been up to this week. Remember, any visual art is welcome, whether it be art journals, paintings, collage, fabric, jewelry, sculpture or anything else that you've let loose on this week.
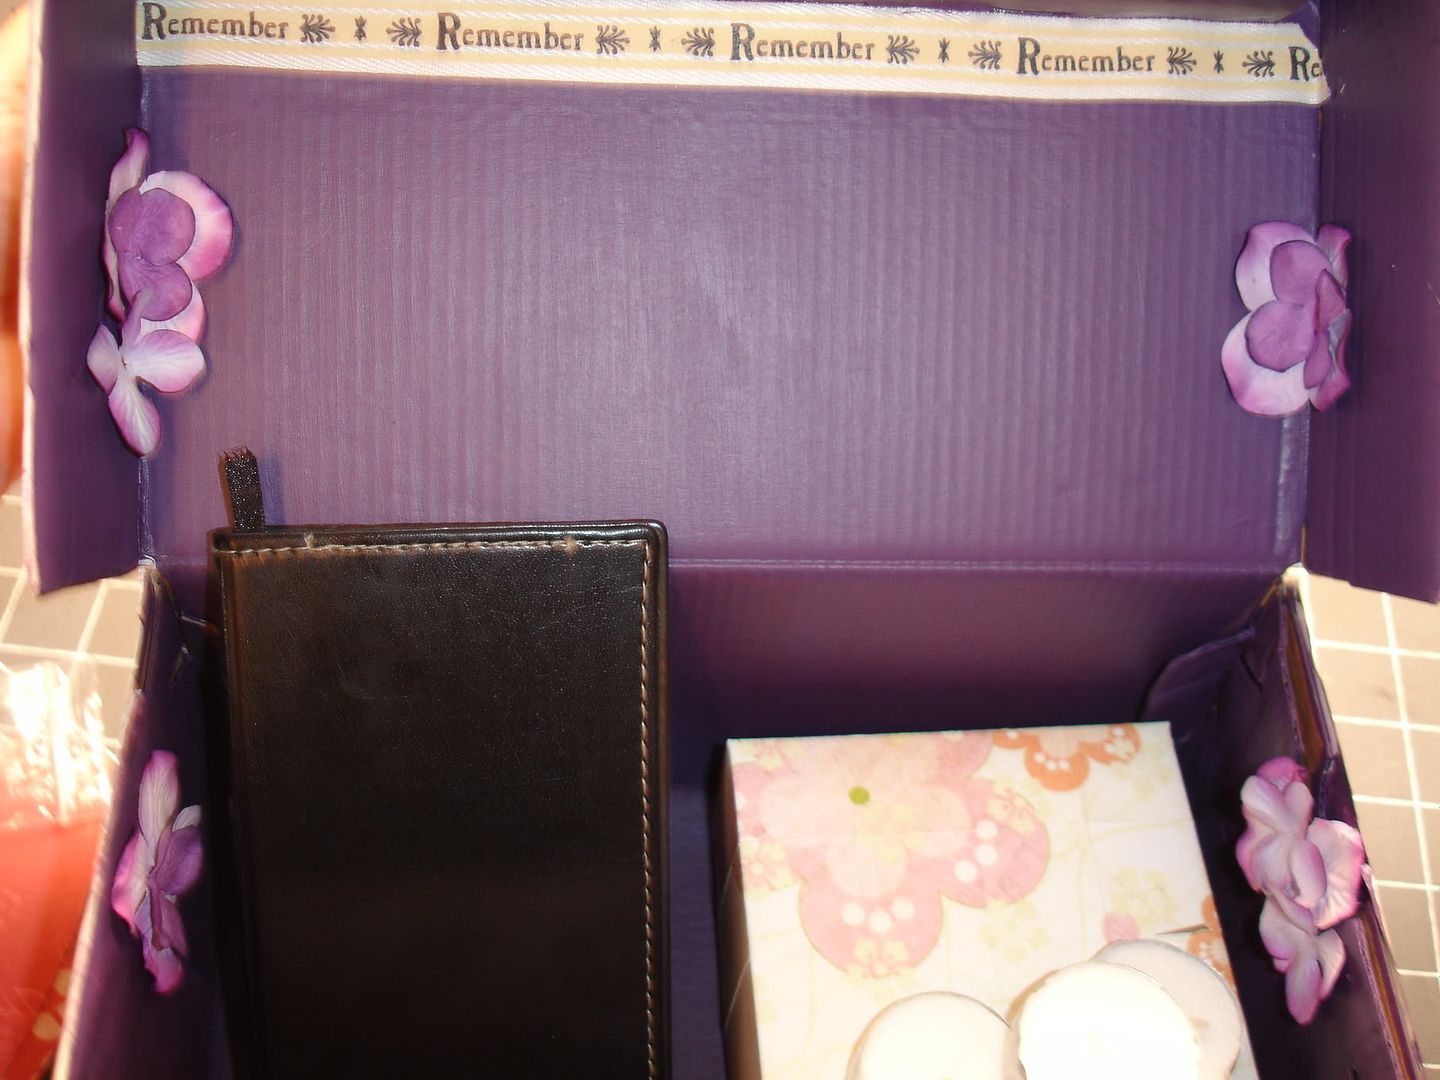
One of the sweetest memories I have is of my keepsake box--a shoebox filled with love notes, movie ticket stubs, and pictures of me and my highschool sweeties. I decided to make one for my sweet neighbor and bible study sista. She and her hubby are highschool sweethearts. She has been feeling a bit overwhelmed since they adopted their little girl from China. So, I thought what better way to help them keep that feeling of "first dates" than a box full of romantic notions.
My box is sweet, but if you are more of a "wild child", then check out The Dating Divas' "Wild About Him" post for a little more steam.
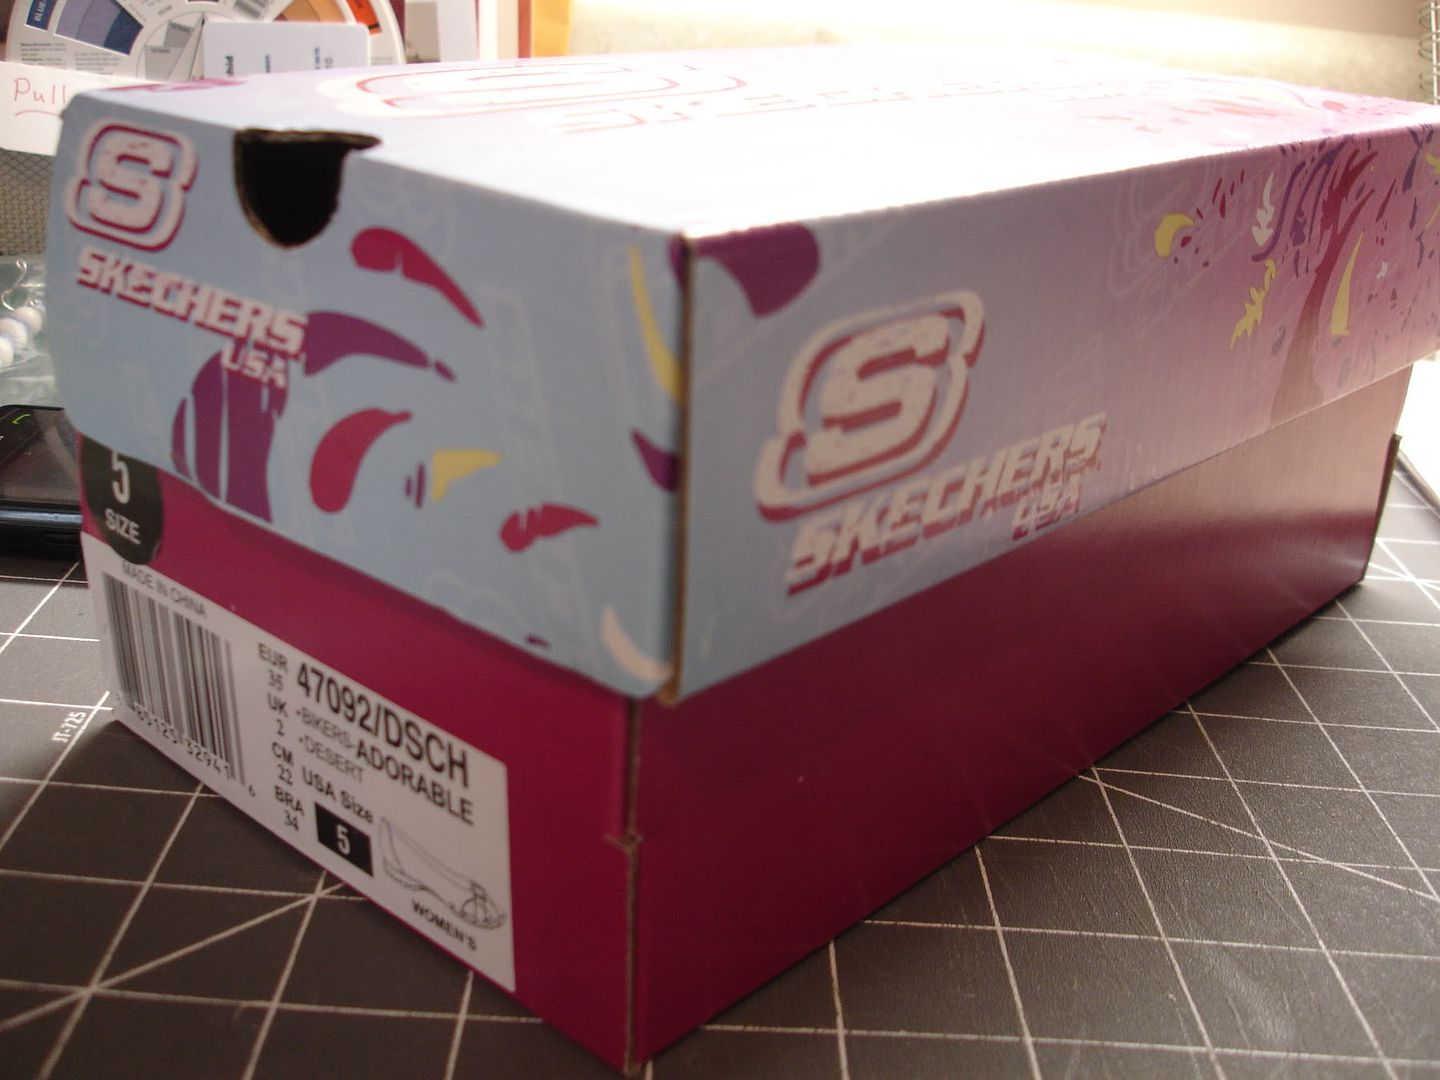
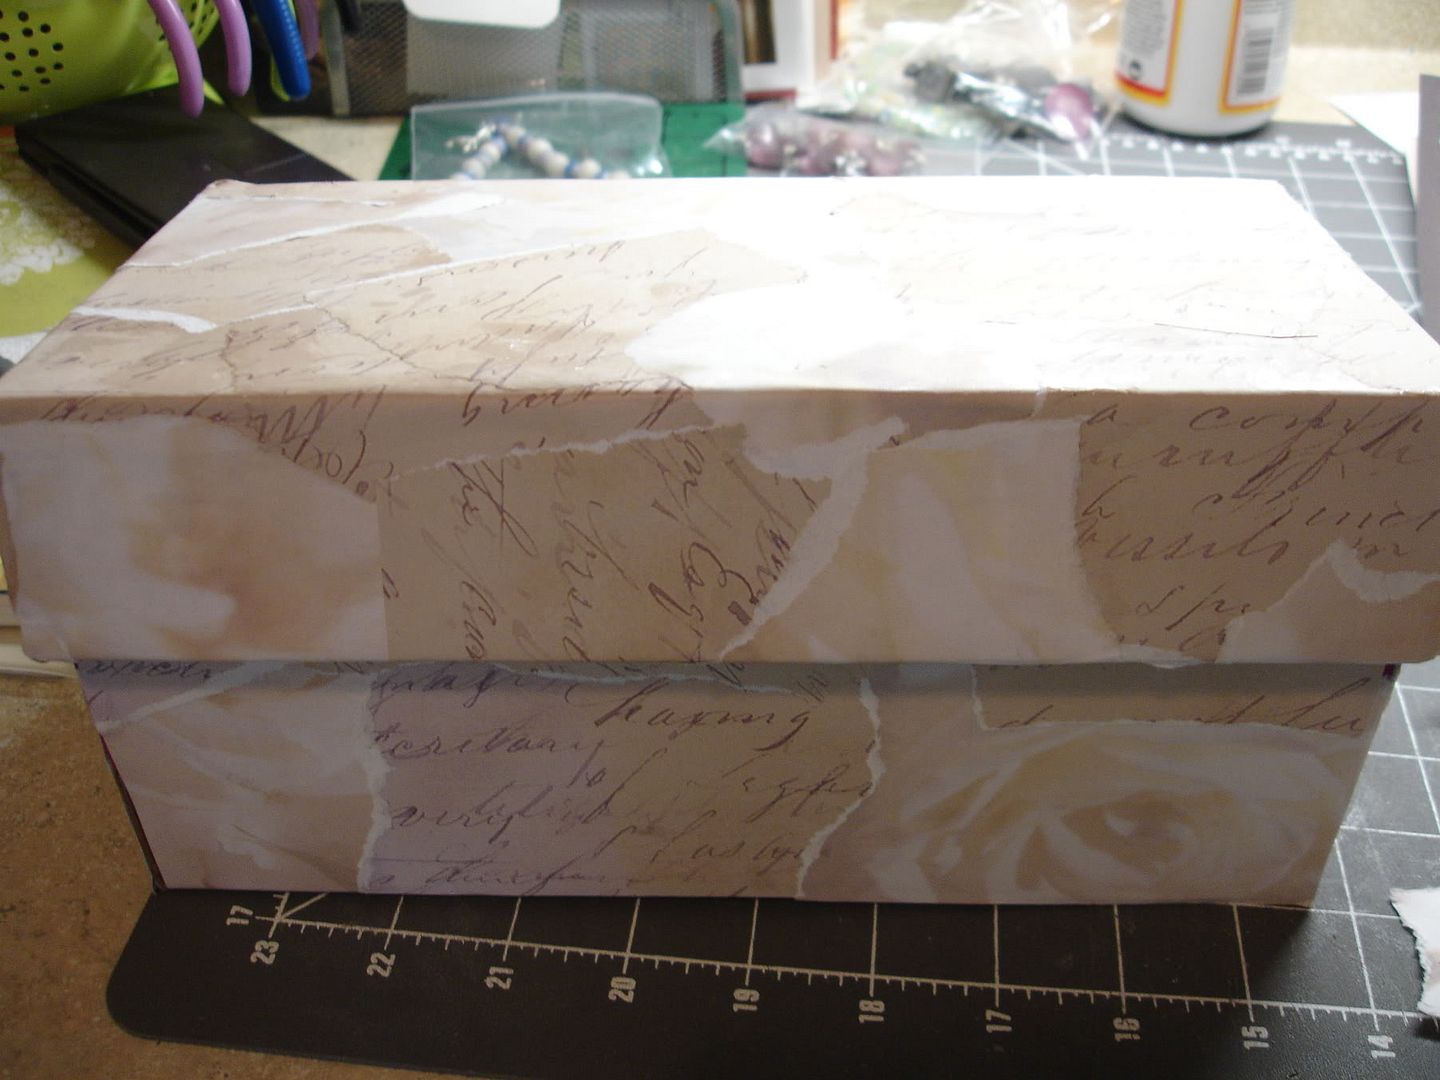
I started with a simple shoe box and a couple of sheets of scrapbook paper which I tore and used Mod Podge to cover the box.
I decided to paint the inside purple using acrylic paint. It covered well but did take a couple of coats. I covered the holes in the box with prima flowers and added a ribbon to make the top box edge look a little more finished.
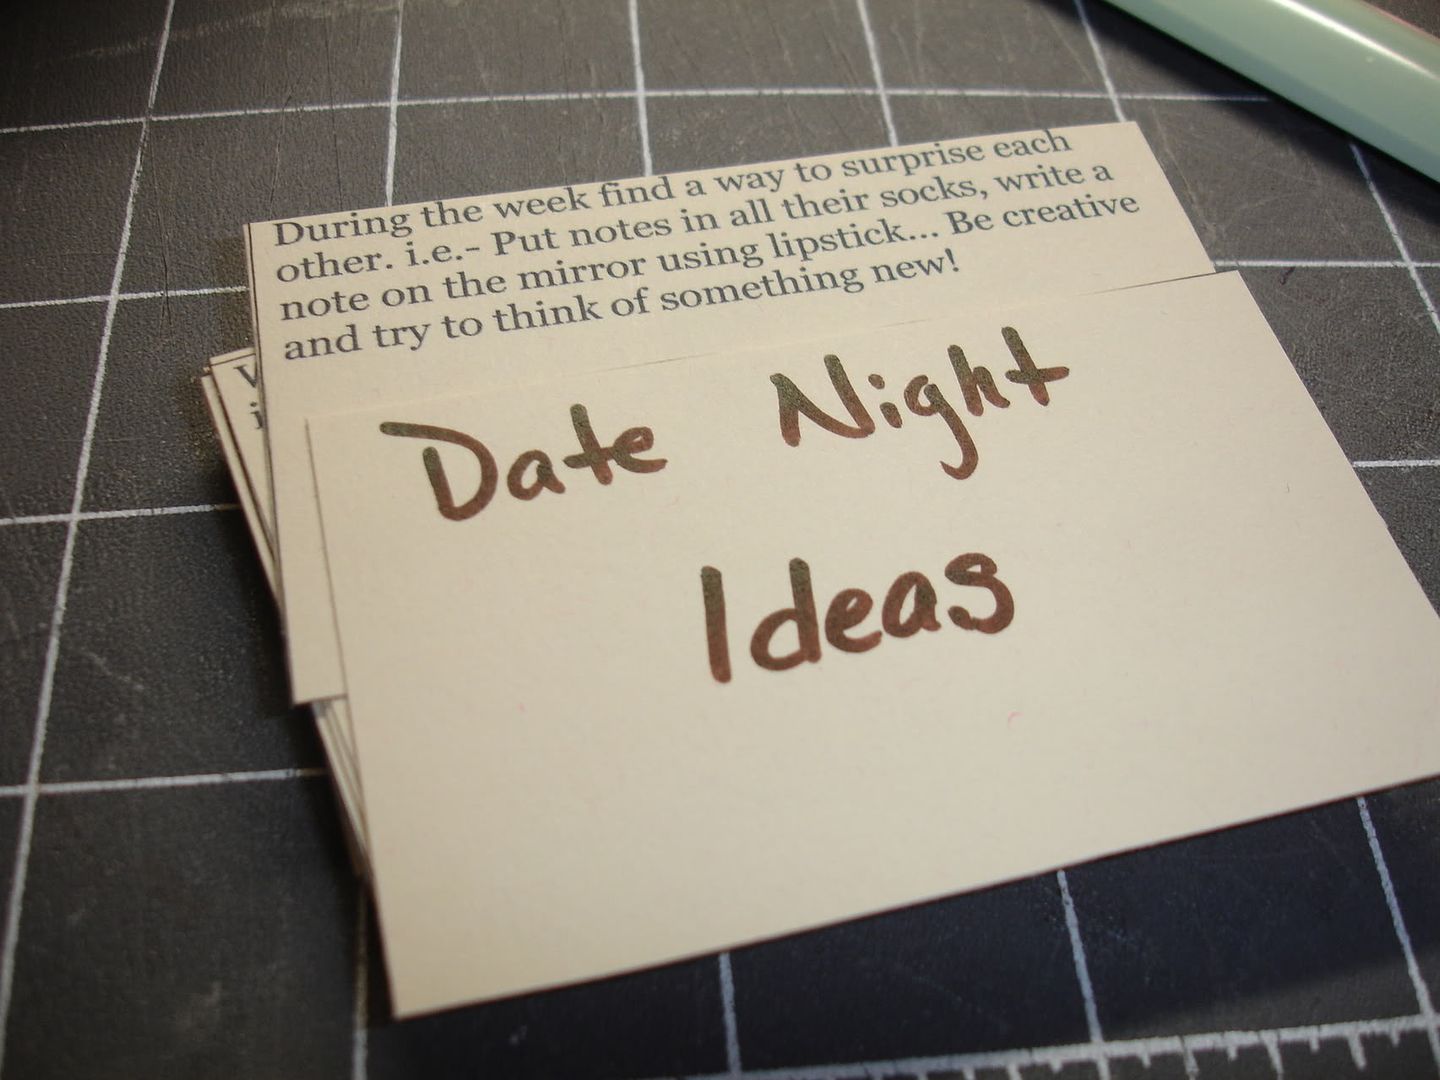
I printed date ideas from the Creative Stirrings blog onto card stock. You can download my template here.
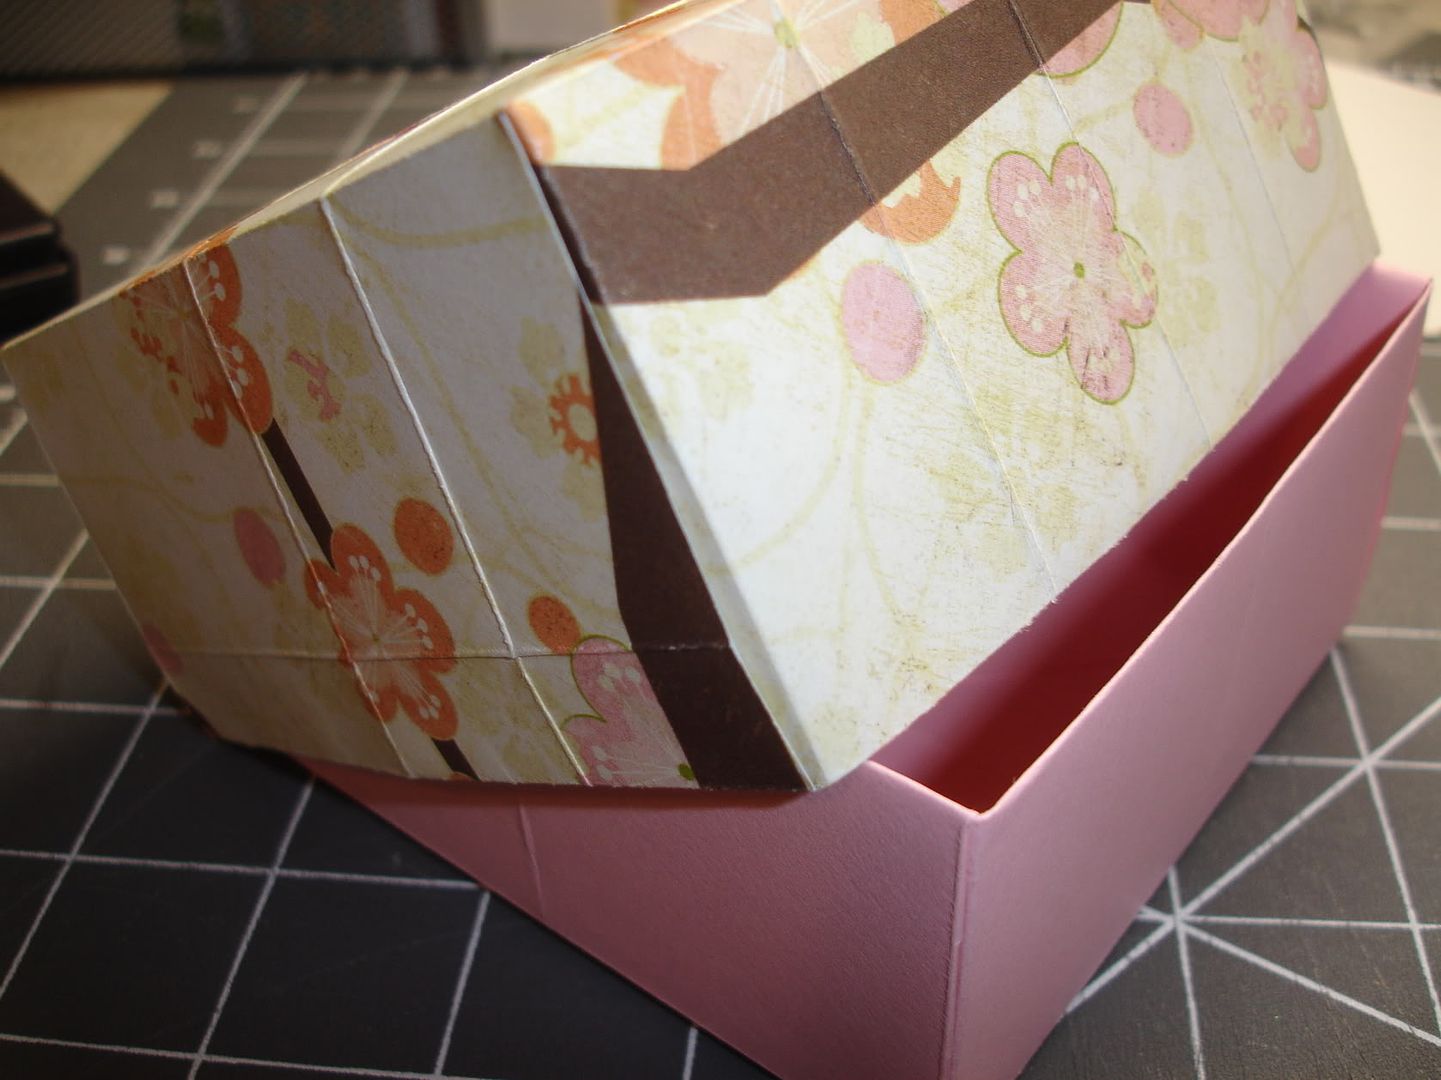
I also wrote romantic notions onto strips of card stock and rolled them up. I made a box from scrapbook paper following instructions in this video that I found on Etsy.
Here is my finished product:
I'll add a little journal for them to write love notes to each other and some scented candles to the box. I hope she likes it and it gets tons of use!
During the first week of May 2010, Nashville suffered a devasting flood. We now have a new measurement: a 500-year flood plane. Homes and businesses were destroyed. The Opryland Hotel and Convention Center still has not re-opened.
I'm proud to live in Nashville. No matter how large and diverse our community gets, we are all still family and have rallied together to rebuild.
Our home was not harmed, however I did personally know a few people whose homes were. One is the Dunn family. Mike and his wife had just welcomed their first child a few weeks before the flood and after a difficult pregnancy. I'm happy to say that Mike and his family got out safely and are rebuilding. Our company is hosting a housewarming party for the Dunn's and this is my gift.
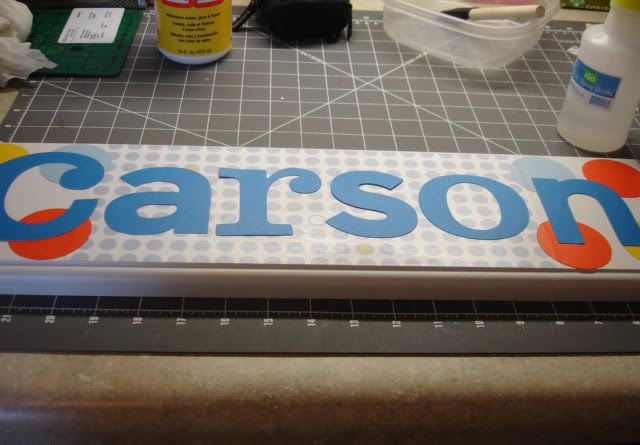
This nursery name plaque is the second in a series of many. I hope. Carson's room hasn't been painted yet, but I think this would go with any decor they choose. If not, I'd be happy to do it again!
All of the materials came from my stash except the hanging hardware. You can read my tutorial for this project here.
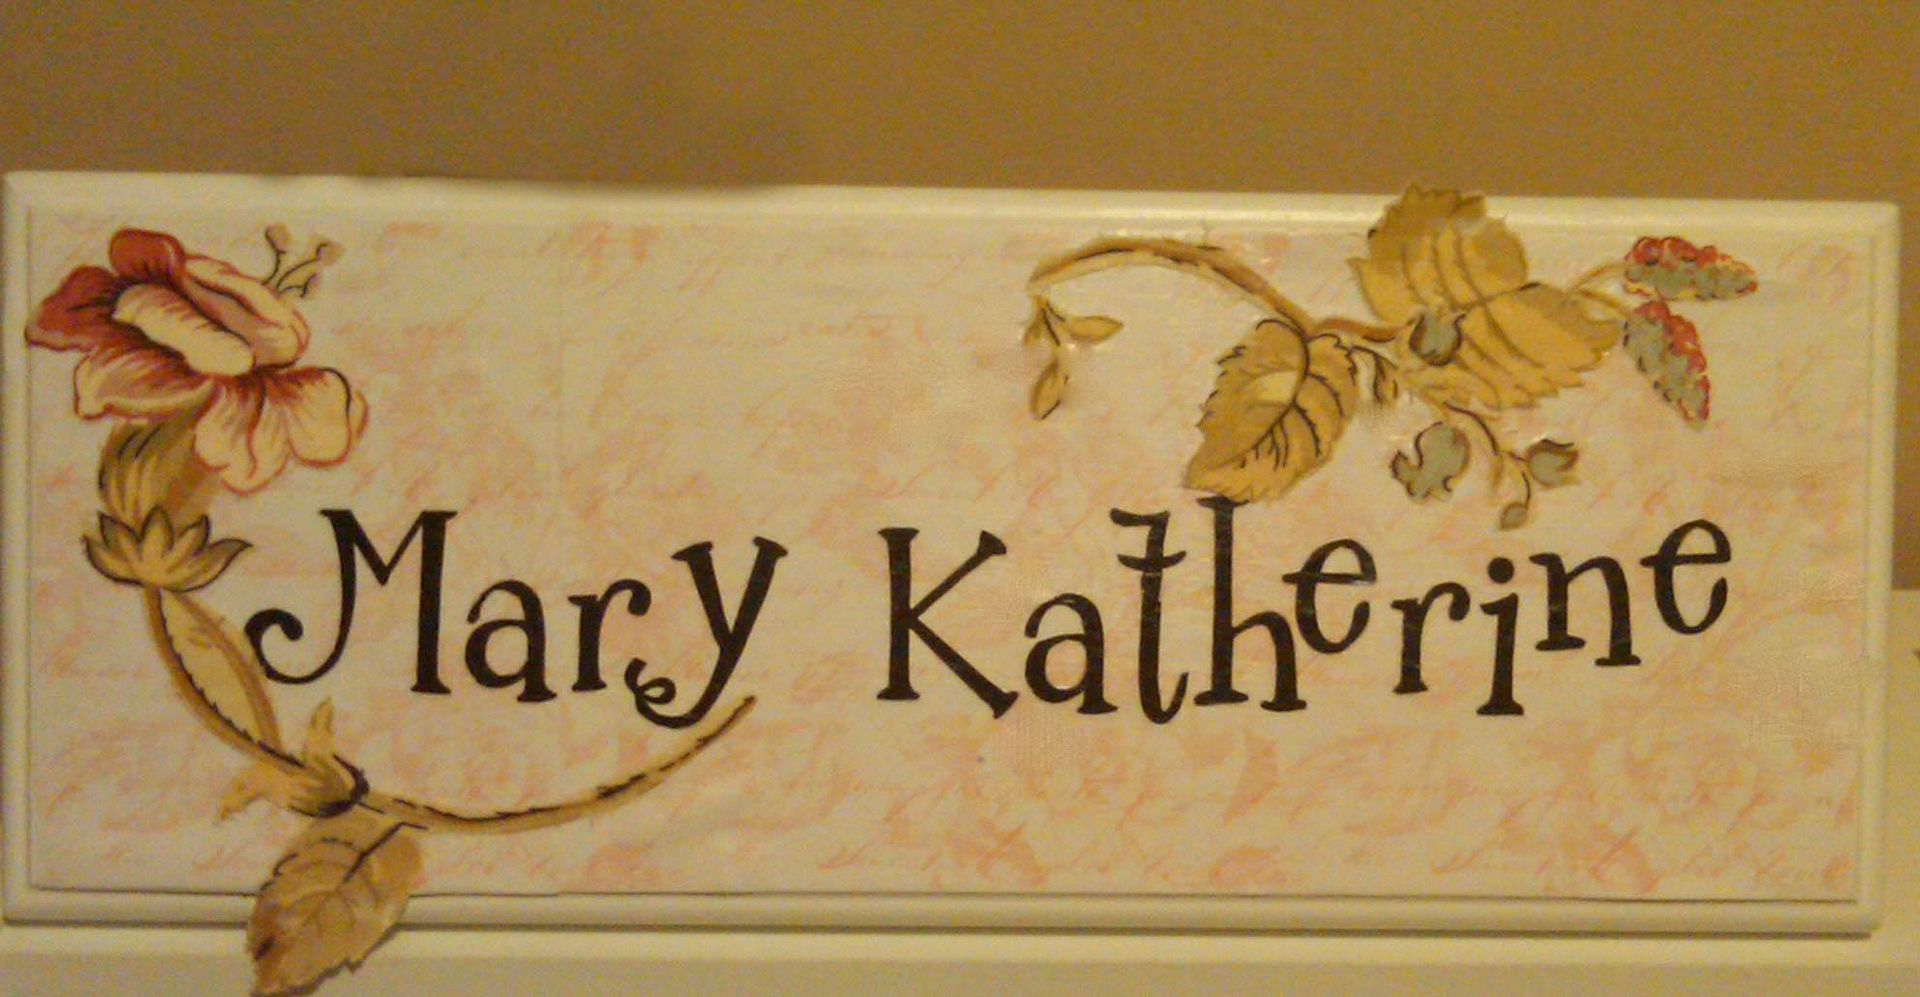
Everything I ever needed to know, I learned....from my hairdresser :) My hairdresser, Brittany Stanley of Beauty Boutique (check her out if you live around the Murfreesboro, TN area) is always full of inspiration. Last time I visited her, she told me about a friend of hers, Kim, that paints canvases for children's rooms. Her blog is called Small Words, and it is fabulous! She inspired me to do my own version. I don't have a steady enough hand to paint my own letters, so I decided to capitalize on my mad scrapbooking skills and stash instead.
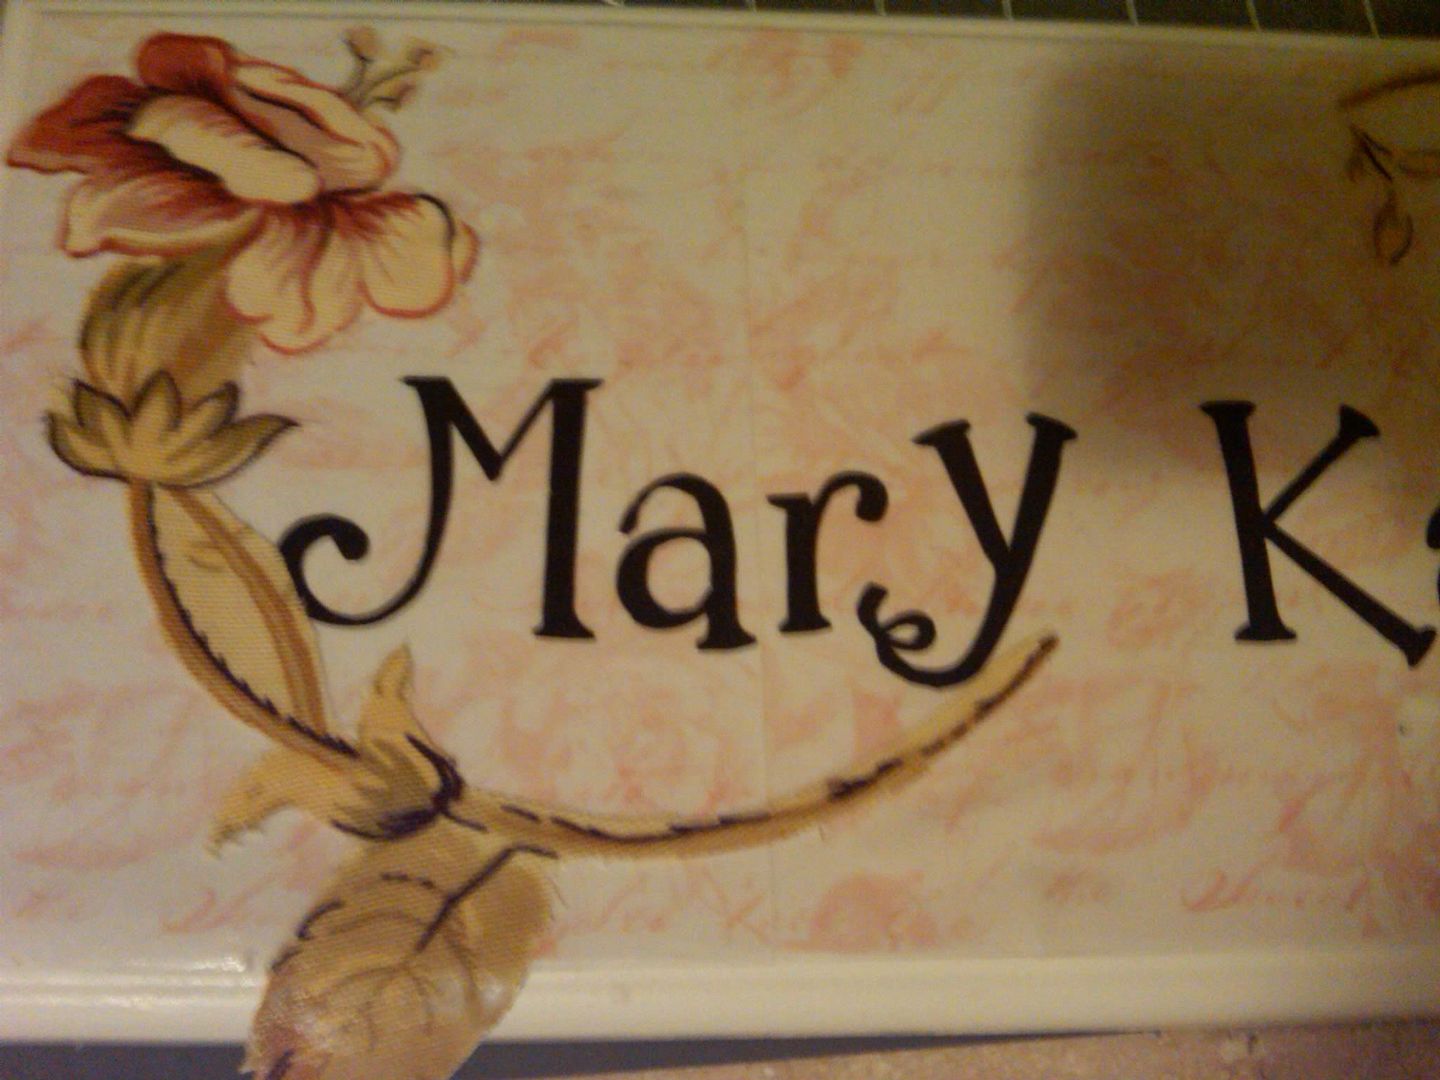
I used a white drawer front that I found at our local Habitat ReStore. I used Mod Podge to cover it in scrapbook paper and used my Slice to die cut the letters. I had some fabric remnants that I found at Old Time Pottery years ago (and have never used) that matched my friend's nursery perfectly. So, I cut out some of the flower motif from it. I Mod Podged it on top of the paper and then added the letters. Another coat of Mod Podge and a coat of spray clear varnish and this is the result.
A few tips:
1. Spread Mod Podge on your paper and let it dry for a few minutes before adhering it to your surface. This will keep it from bubbling and buckling.
2. Let your top layers of Mod Podge completely dry before adding a second layer.
3. Mod Podge for fabrics is out now and may work better if you are using fabric pieces like I did.
4. Sand the edges of your paper to give it a softer look.
Check out the Mod Podge Rocks blog for more tips and great Mod Podge projects.
I will definitely be making more of these. If you would like one for your child's room or any other room in your home, please email me at jenn_seratt@hotmail.com.