Showing posts with label studio. Show all posts

10/22/2010

Taking It to the Streets- Portable Crafting

Do you have a Travel Bag of Fabulousness?
A Satchel of Sanctuary?
A Bag of Bliss?

What else would you call your portable studio?  But, I don't travel, you say.  Neither do I very much, but sometimes I like to take my art outside on the patio.  Sometimes, I don't have the strength to walk into my studio, but I still want to doodle, or do something creative.  So, I put together my Travel Bag of Fabulousness.  (The name is not copyrighted.  You can use it too!) 
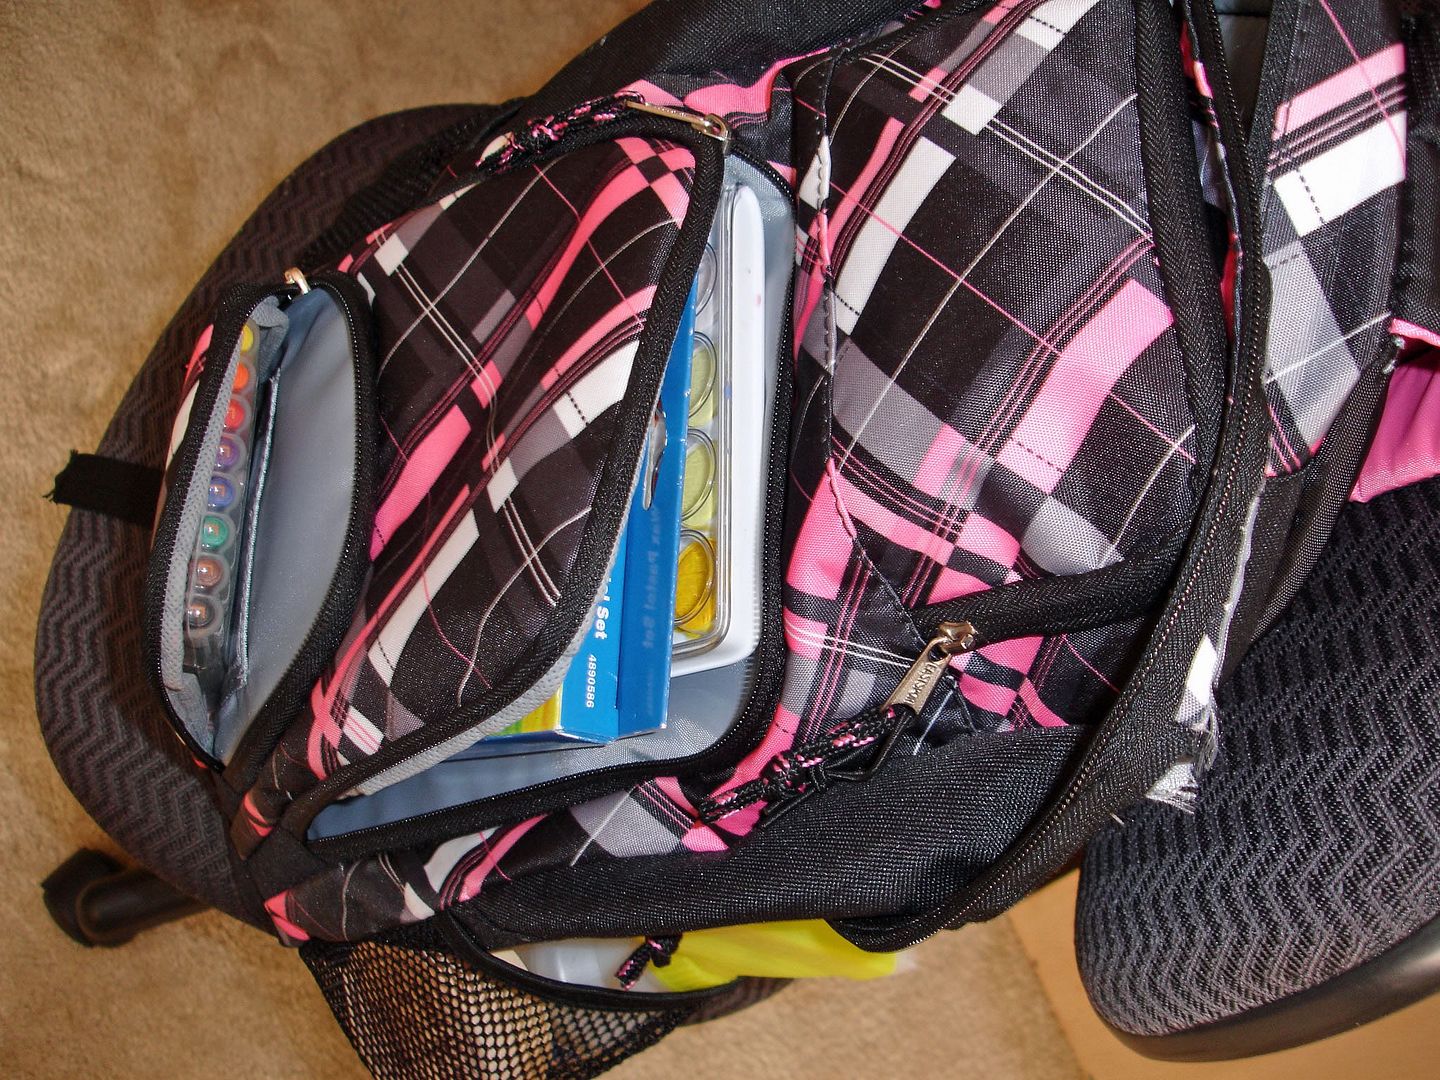


My bag consists of this:
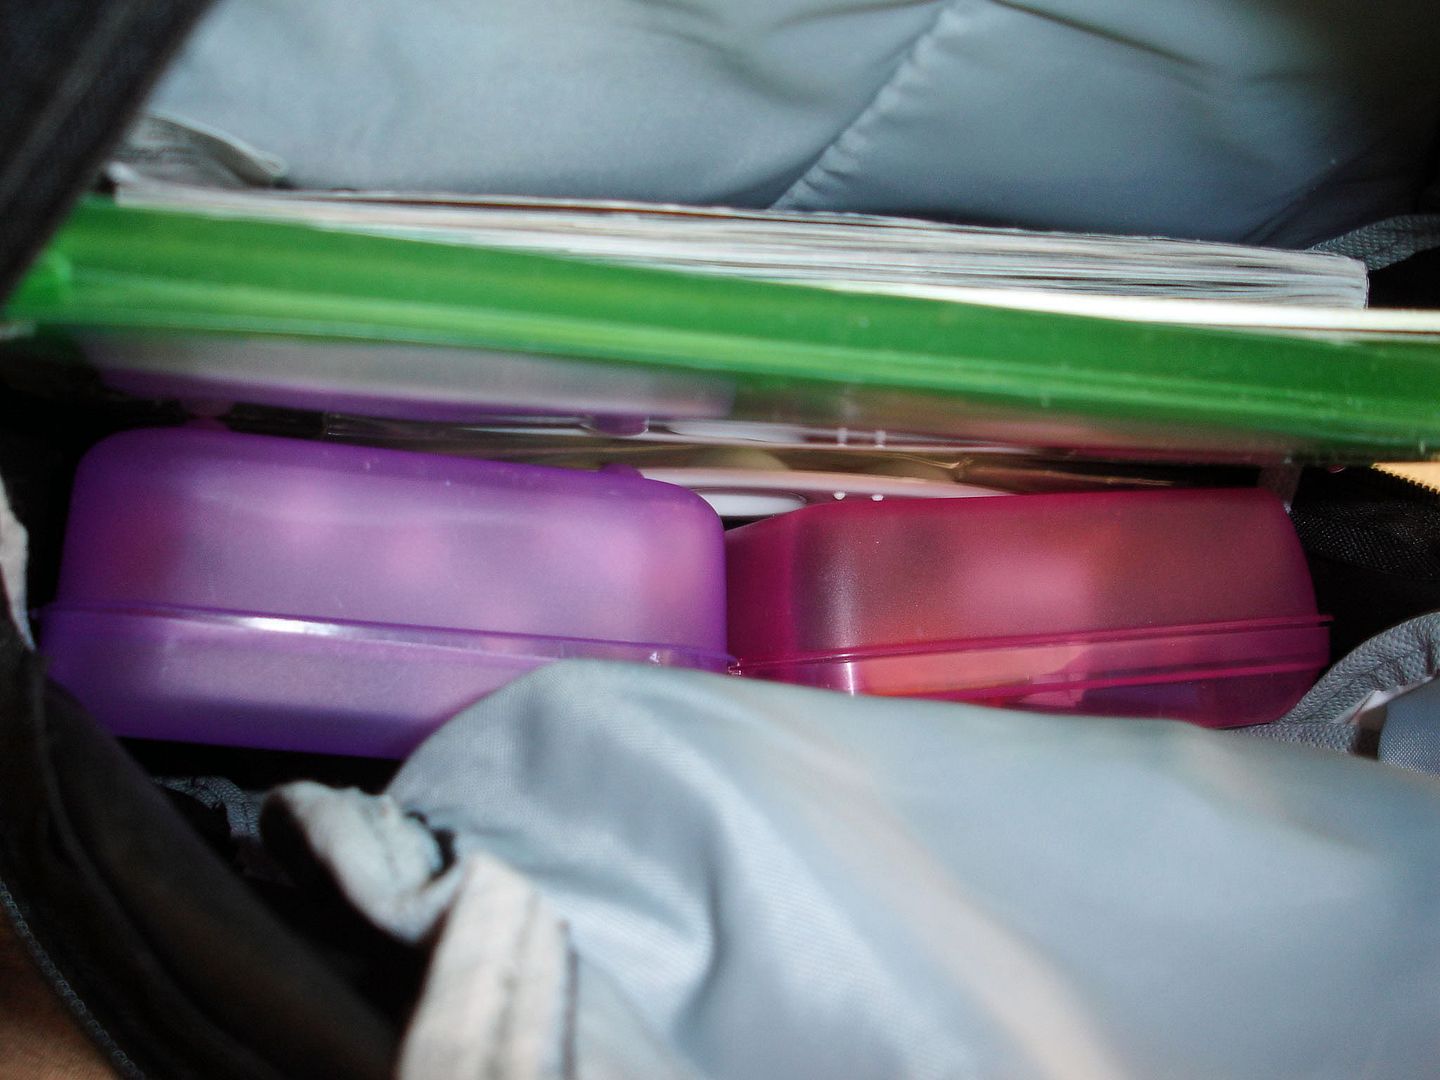
  • Small backpack with enough pockets to keep things organized
  • Sketchbook
  • 2 pencil cases filled with small tubes of acrylic paint, watercolor pencils, coloring pencils, drawing pencils (2H, HB, 4B, and charcoal), pen nib and holder, oil pastels, q-tips, straight-edge, glue stick, cutterbug scissors, two paintbrushes (flat and round), pencil sharpener, eraser
  • plastic folder of magazine images and scrapbook paper pieces
  • small spray bottle of water
  • case of artist pens
  • box of watercolor crayons
  • pan of cake watercolors
  • small plastic palette
  • small bottle of gesso
  • cake of brush cleaning soap
  • bottle of india ink
  • couple of pieces of wax paper (to stick between my painted pages)
  • ziploc bag of baby wipes
I've never written all of this down before.  I think I should go in and do a little editing.  Needless to say, this might be a little much to take to a doctor's appointment or on a plane, but there's nothing here that wouldn't get through security as long as your bottle of gesso and india ink met the container and size requirements.

I'll share with you a couple of products that I learned about from Sarah Whitmire's 21 Secrets workshop called Jet-Set Journaling:  a watercolor brush pen and peerless watercolor papers.  They are already on my Christmas list!

So, whether you knit, scrapbook, art journal, sketch, or any other creative endeavor, how do you take it to the streets?

I'm linking to these parties:
giveaways

10/08/2010

Inspiration Board Tutorial

Greetings to all my wonderful readers.  I have a couple of great things for you today.  The first is an announcement.  I have scheduled three unbelievable guest bloggers for next week.  Beginning Sunday, Connie Hozvicka from Dirty Footprints Studio will be featured for this week's Sunday Art Therapy.  Remember the art journal workshop I have been raving about, 21 Secrets?  She's the hostess with the mostess.  Then, on Tuesday, Mandy England from Mandy's Yellow Corner will be here with an awesome tutorial for some fall home decor.  Finally, on Thursday Jennifer Neil from Hope Studios will be stopping by.

I hope you are excited as I am!!  Be sure to make them welcome and let them know what awesome, creative people you are!

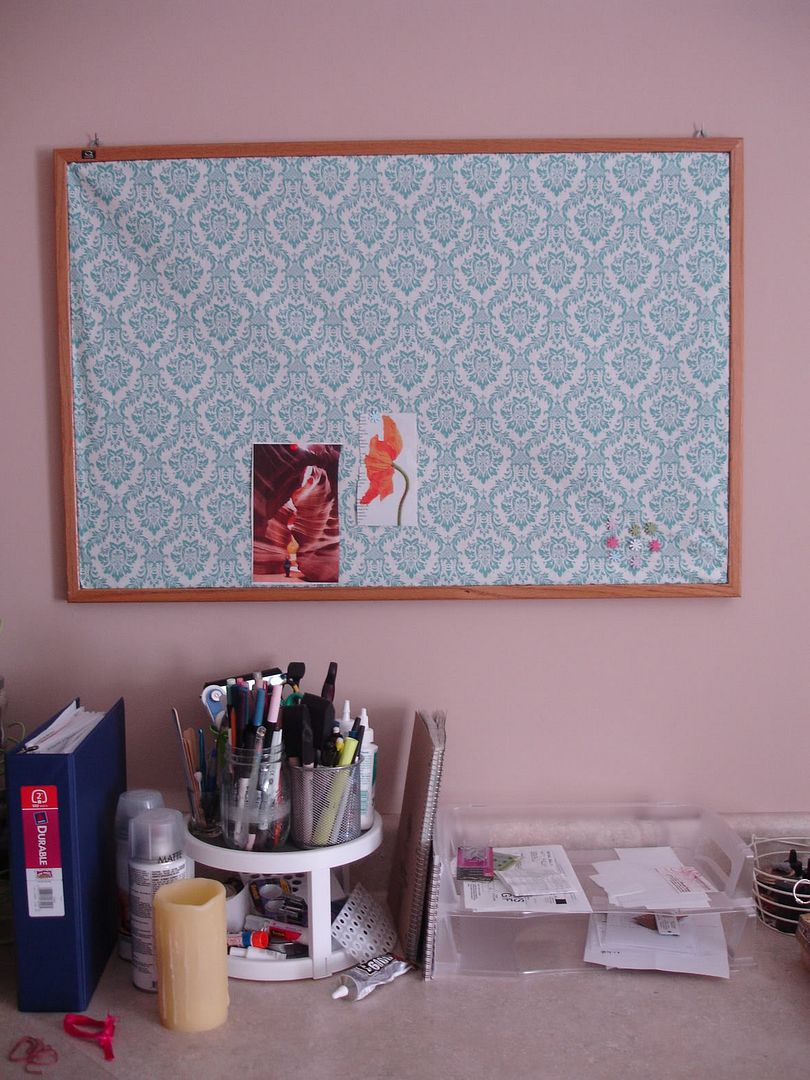
Next, I have a tutorial for an inspiration board.  I have been wanting this forever for my studio and finally took the time to put it together.


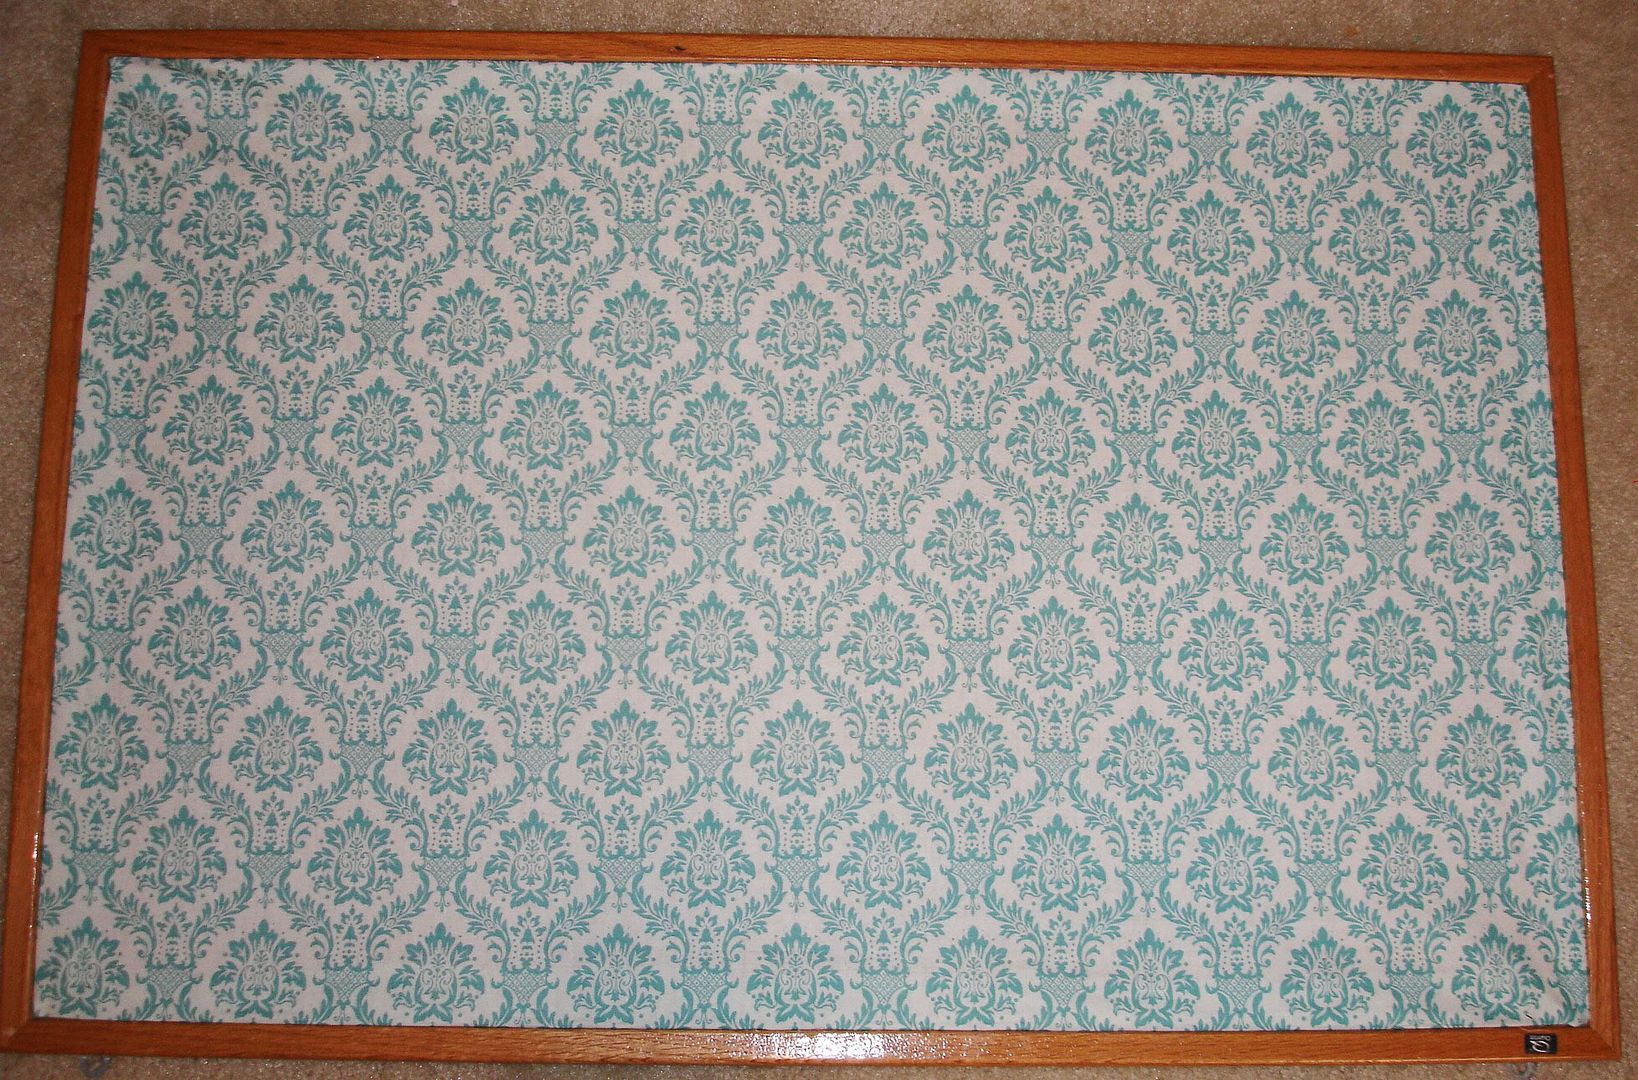
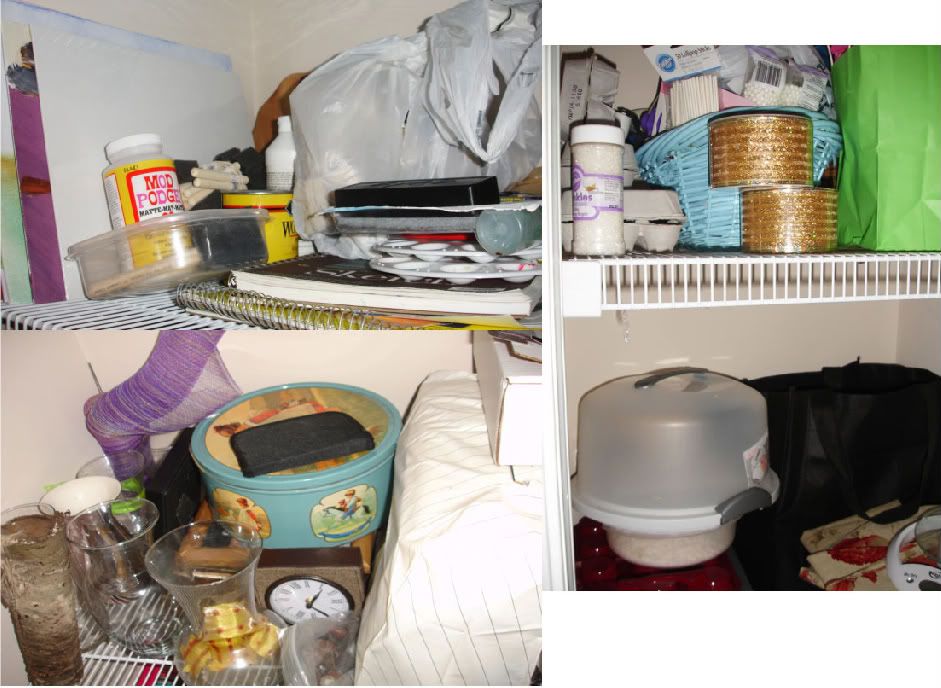
I was able to make this board from things I already had in my stash plus a yard of fabric from Joann's (which was 40% off!)  The base of my board was a large cork board that I had from a previous home.  It's been in the closet in what is now my studio for the last 4 years.  Lucky for me that it was already framed and had hangers.
 
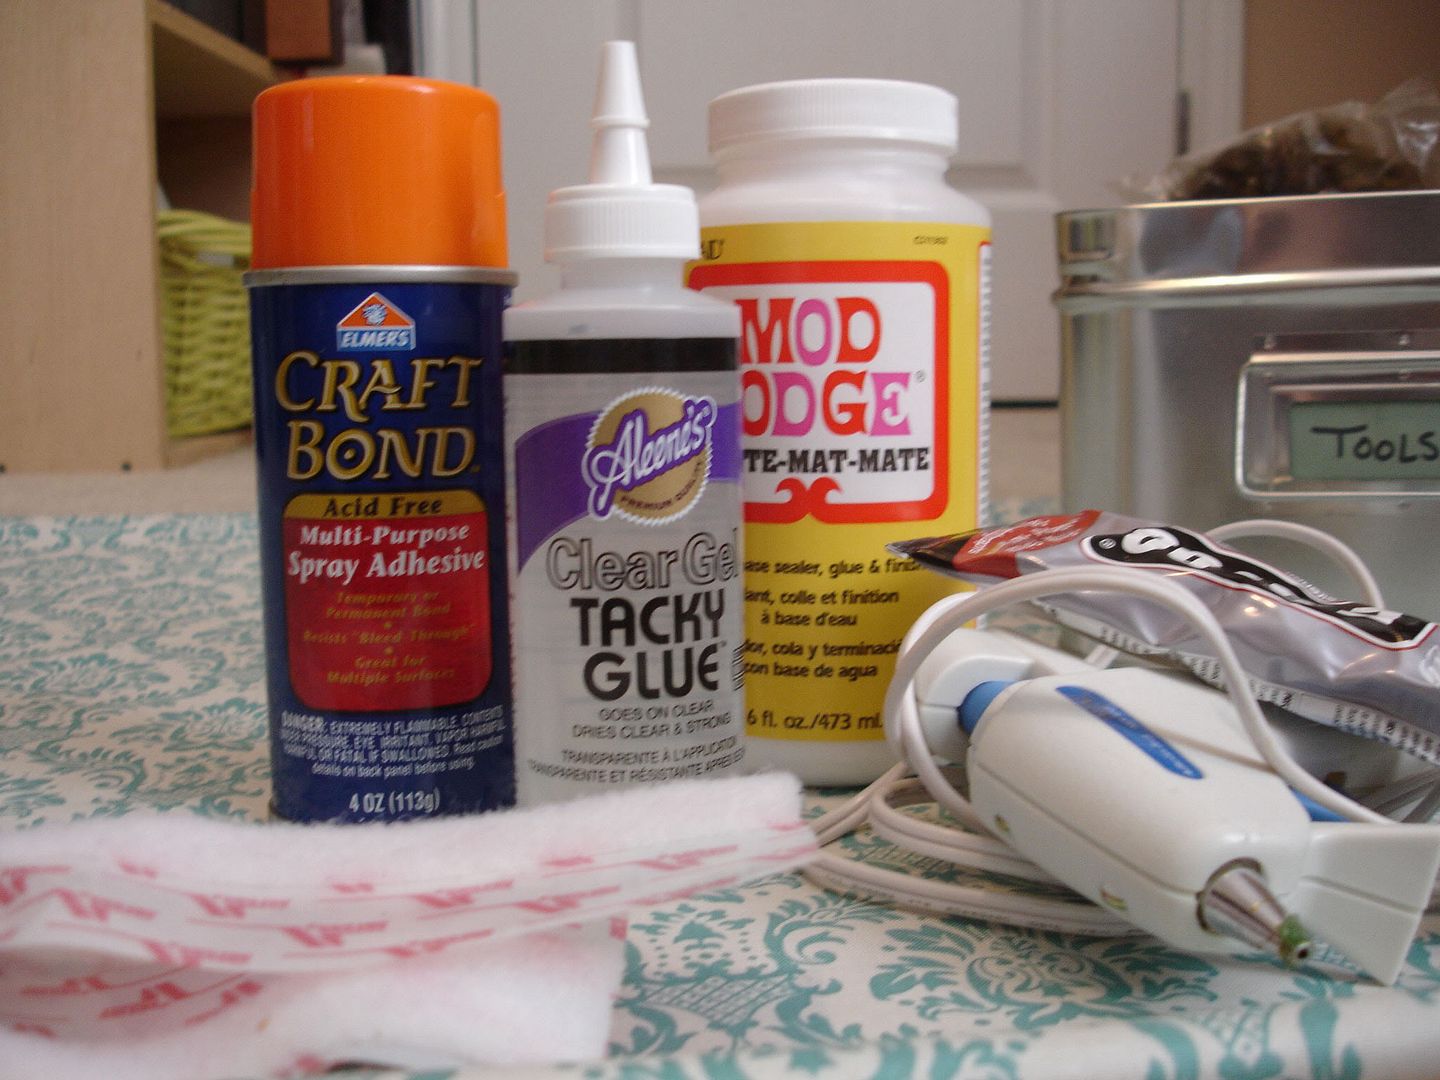
1.  Decide how you will attach your fabric to your board.  I had several different types of adhesives handy, but you could also use a staple gun.  I ended up going with hot glue.


2.  Cut the fabric about 1.5 inches wider than your cork board.  I used pinking shears so that I didn't have to deal with fraying.
 

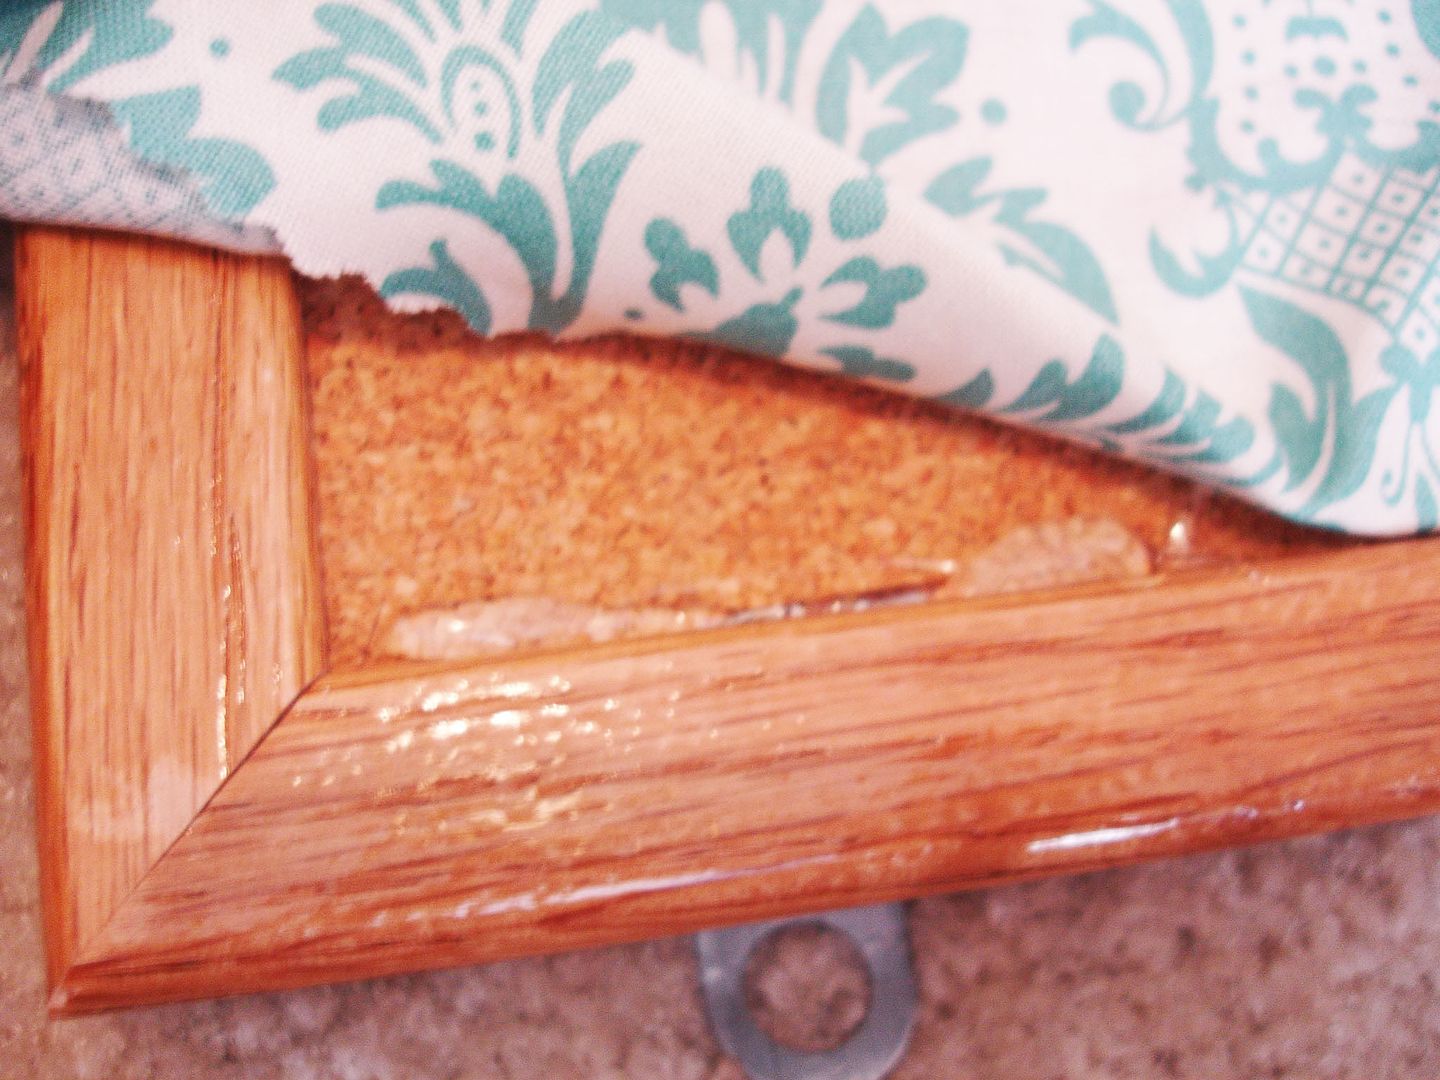
3.  Flip your fabric right side up and center on the front of the board.  You could take the time to pin down and iron a hem, but I didn't want to drag all of that stuff out.  So, I started in the center of the bottom side and finger-folded the fabric and glued it down with the hot glue. 


4.  Be sure to keep your fabric tight.  When you get to the corners, leave yourself enough room to fold the corners into a tight point before gluing them down.


Voila!  There you go-you're very own inspiration board.  So, tell me.  What do you find inspiring?  What kind of things do you keep on your inspiration board?

6/18/2010

Stash Busting Challenge

Sometimes I think I need to go through a 12-step program for crafting. My name is Jennifer, and I’m a craft-a-holic and a supply hoarder. I guess there are worse things that I could be addicted to. I just can’t help myself. I must have crafty ADHD. I decorate cakes, draw and paint, scrapbook, make jewelry, crochet, and whatever else I can get my hands into on any given day. Whenever I’m in a hobby or craft store, or a thrift store, or even the dollar store, I’m inspired by everything I see. I don’t always know what I’m going to do with any given purchase or find, but I know that it can become something great.


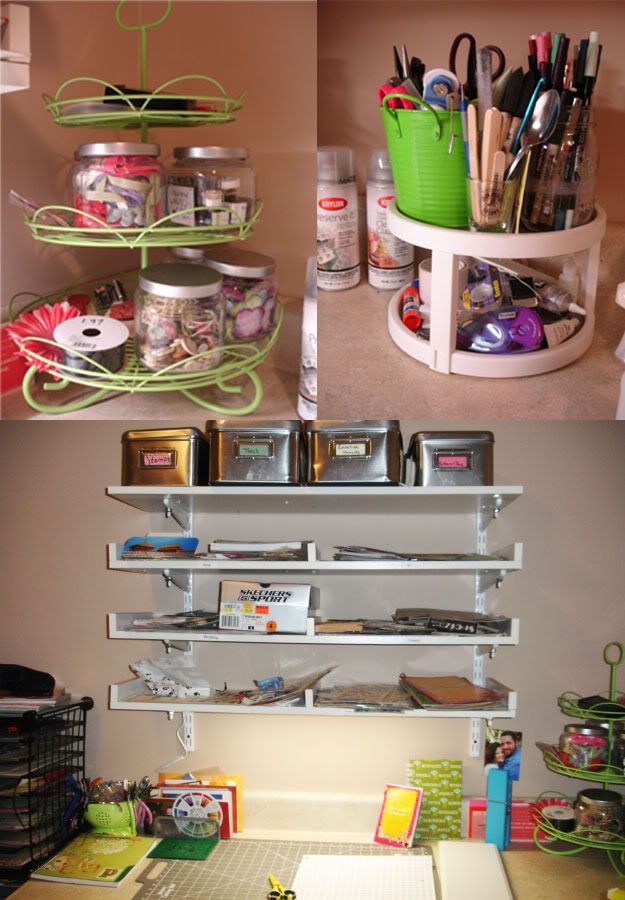
Today, my stash is neatly organized in my studio. I’m not sure how much longer I can fool my sweet hubby into thinking I’m using a just-in-time (JIT) crafting process. So, I am committing to an all-out, free-for-all, stash-busting crafting marathon over the next two weeks. I am allowing myself a budget of $5 each week to purchase any “finishing” supplies.

I’d love for you to participate with me! Email me with your stash-busting projects and you could be featured in future posts or even be asked to do a guest post.

Let’s get busting!
 
Find More Free Layouts at April Showers