Showing posts with label Party. Show all posts

12/19/2010

Sunday Art Therapy #17

A couple of weeks ago, my best friend from college invited me to a ladies' Christmas brunch. She had planned to play dirty Santa with small gifts. So, I scouted out Etsy and found this coffee coozie from one of my favorite sellers, PoshPaisley:


Isn't it adorable?  I had to make sure that the wrapping for this little gem was just as lovely as the treasure inside.  I thought that I would create a little envelope out of my paper stash, or maybe use one of my recycled boxes and wrap it in paper.  As I looked around my studio, I found the perfect piece.


This little bag once held two chocolate chip cookies from a hotel in Cleveland, OH.  I couldn't just throw it away.  (To be honest, I kept the little cookie wrappers, too!)  But, it didn't scream Christmas, so I dressed it up. 


BagAfter


The little carriage in this scene was part of the print on the paper.  I loved it and incorporated it into my painted scene.  I scrubbed white gesso over part of the paper, and used watercolor crayon to paint in the house and the trees.  I added in some cute little stickers and finished it off with a decorative tape.

Although it was the smallest gift on the table, it was the first present chosen and loved by its final owner.

Don't skimp out on the wrapping.  It's the details that make even the simplest gift very special.

If you haven't already done so, check out last week's Sunday Art Therapy submissions.  Claire from Saraccino has really been busy with some awesome projects!  Love all the pink!

Now, it's your turn.  Link away! 

NOTE:  There will be no Sunday Art Therapy link party for the next two weeks as we celebrate the holidays with family and friends.

Merry Christmas and Happy New Year!!!


This linky list is now closed.

10/05/2010

Chocolate Ganache Cupcakes with Custom Wrappers

As promised, I am sharing with you my Chocolate Ganche cupcake recipe and a tutorial for the custom wrappers.


I love to bake, but when it comes to cakes and cupcakes, I must admit that I use box mixes.  I know that some of you are cringing, but it's true.  I often doctor them up a bit, but I have had great success with keeping them moist and delicious, so why mess with a good thing?  So, for these cupcakes, I used Duncan Hines Devils Food mix.  I usually buy the extra moist variety.  You can also add an extra egg to a regular cake mix to make it more moist.  I'm all about using what you have on hand.  I lined my muffin pans with white liners.  The liners will be covered with our custom wrappers, so just use whatever you have.

I made two versions of the cupcakes.  One box mix will make 24 regular sized cupcakes, so I kept 12 of them plain and filled 12 of them with raspberry preserves.  When filling cupcakes before baking, be sure to allow for the amount of filling when adding the batter to the cups.  After filling the cups, I placed a 3/4 teaspoon of raspberry preserves in to the center of the batter.  As the cupcake bakes, the batter will rise above the filling.  Cherry pie filling would also be delicious with this recipe!

Now, the ganache.  Ganache is very easy to make as long as you have the right ingredients.  What you need is:

8 oz of dark chocolate pieces (you can use chips or shredded baking chocolate)
1 cup of heavy cream

Please note that you need heavy cream.  I have made this before, but somehow thought that I could get away with half and half.  You can't.  Take my word for it.  Pour the chips in a medium bowl.  Pour the cream in the saucepan and bring it to a boil over medium heat while stirring constantly.  Keep a watch on it.  Cream will boil over very quickly.  After boiling, pour the cream over the chips and stir until smooth.

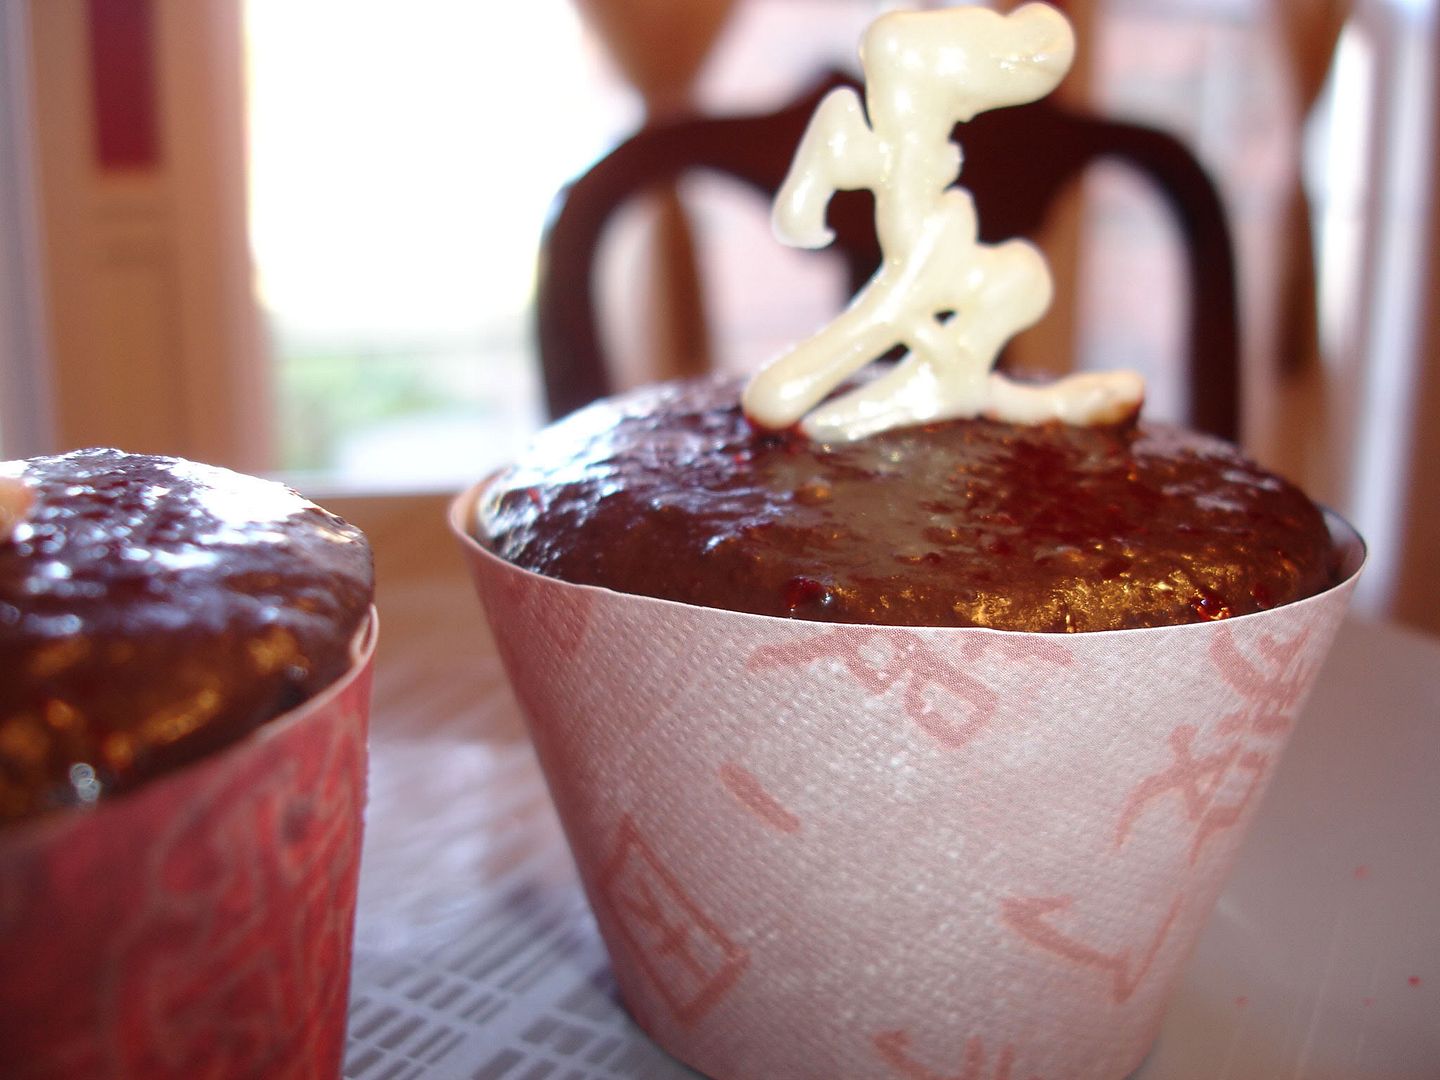
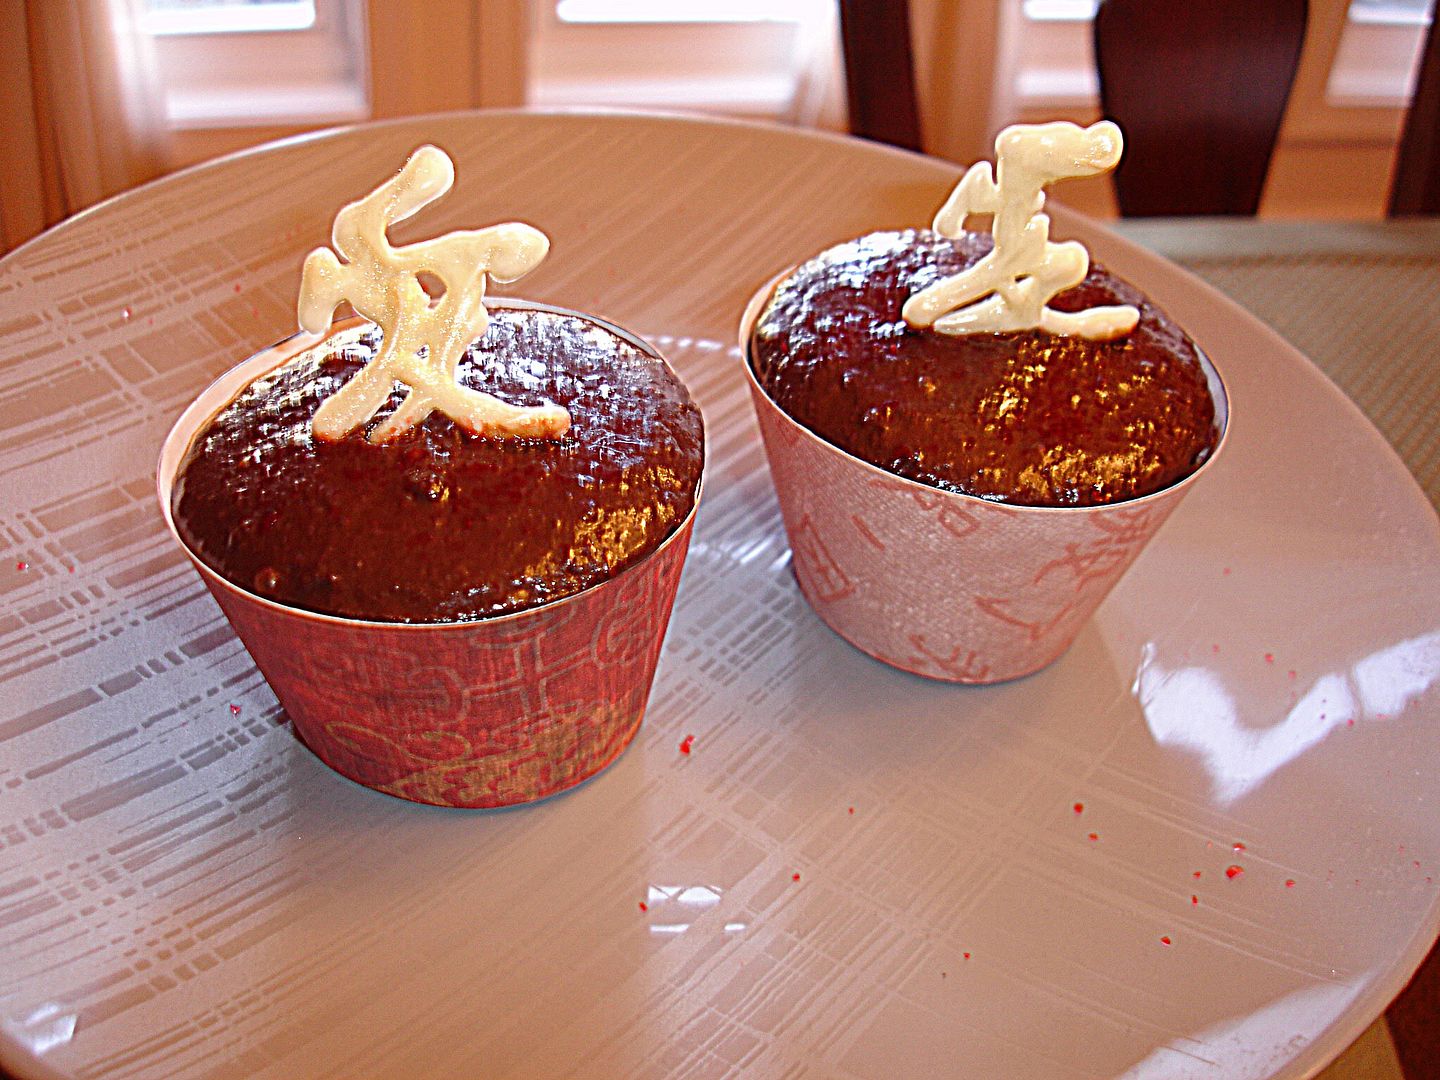
I frosted my cupcakes by dipping the cupcakes in the ganache and then refrigerating to allow them to set up (not really necessary if you use the right ingredients).  The decoration on the top is a chinese symbol for love that I piped using Wilton melting chocolate meant for candy making.


The custom cupcake wrappers were made from thick asian-themed card stock.  The paper I used was actually a little too thick, in my opinion.  I got the template from Skip to My Lou.  You can find it here.  Once you choose your paper and cut out the template, wrap the cupcake with the shorter, convex side on the bottom and secure with tape.  Now your cupcakes look special and gourmet.  No one has to know they came from a box.

8/27/2010

Party Trays: Sophisticated & Cheap

I love to throw parties!  Even while I'm in the throws of planning one, I'm thinking about the next one.  Creative displays for my food are my favorite thing, but party trays, cupcake stands, and hors d'oeuvre tiers can be crazy expensive.  So, what is a girl to do?  Well, make her own of course!

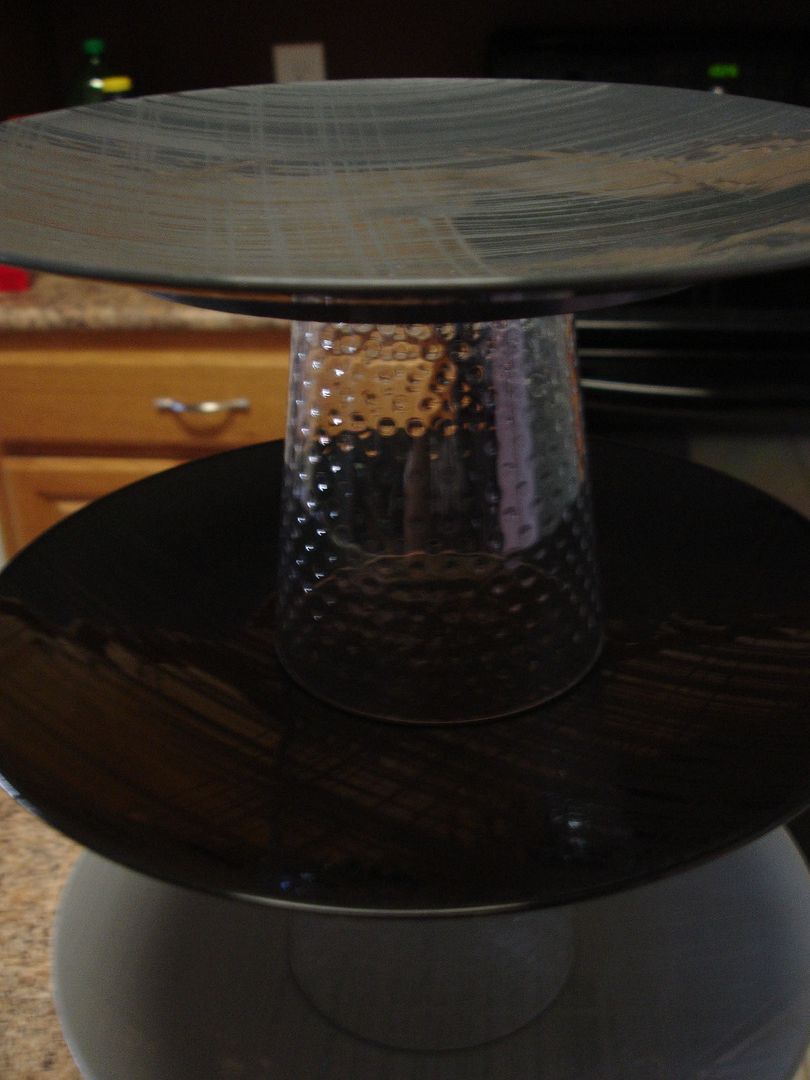
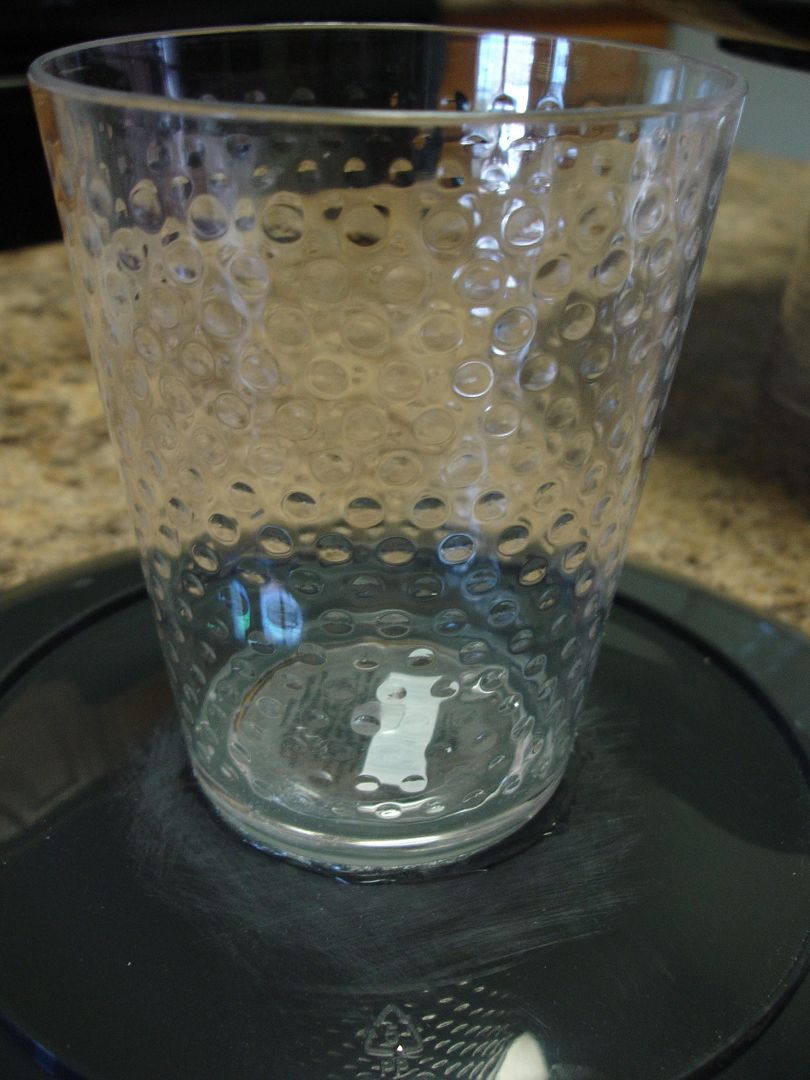
I have been so inspired by my fellow crafting bloggers.  I took my inspiration for these trays by Julie at Joy's Hope.  Her trays are colorful and festive, but I wanted something a little more sophisticated but still fun.  I found a great set of plastic plates and cups at Target.  I got the plates 4 for $4 and the cups were about $2 each.  I used one tall and two short cups because I wanted some variation in height, but if do this again, I will go for all short glasses to make stacking easier.  I didnt' take pictures at each step becuase there are really only two. 


First, use fine grit sandpaper to rough up the bottom of the plate and cup.  Then, glue the plate to the cup.  I used E6000 glue. 


Let dry, and that's it.  They are ready to use.


I'm linking to these parties:


Find More Free Layouts at April Showers